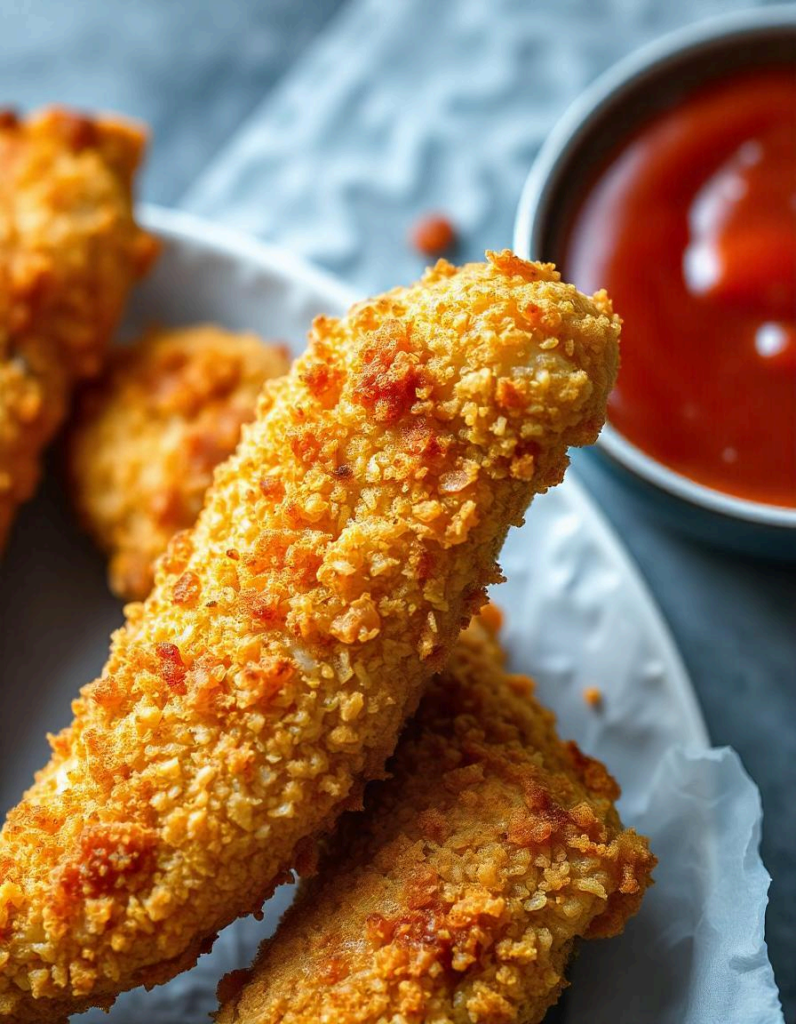
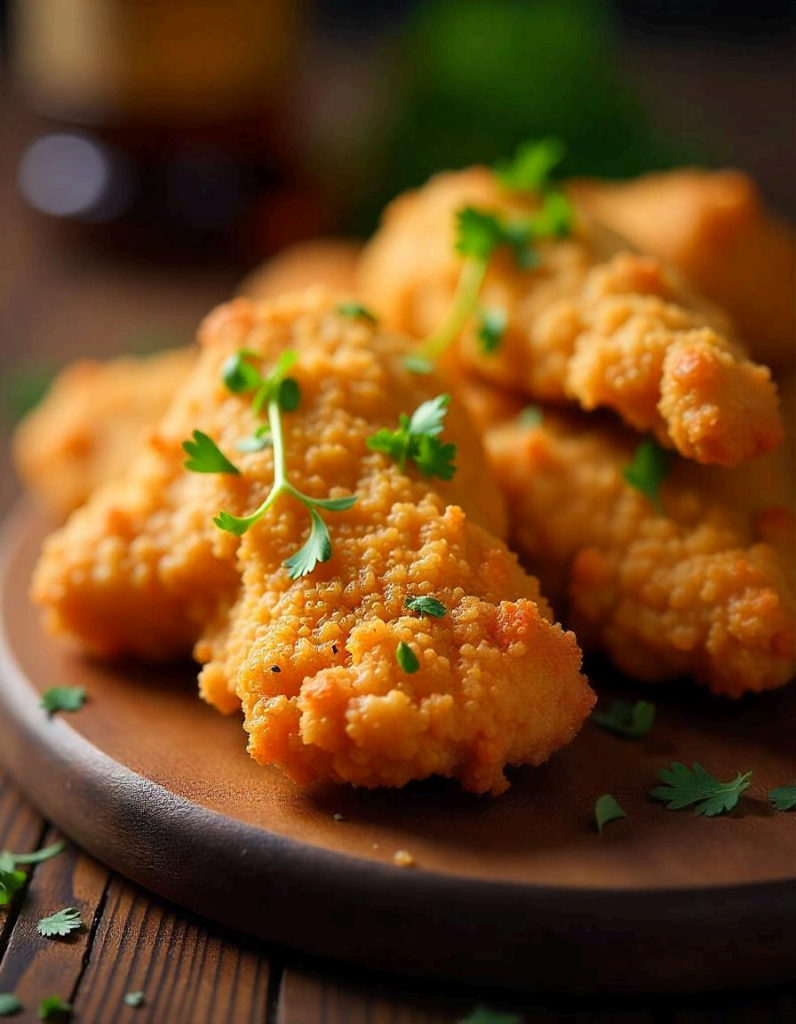
Cheesy Parmesan Chicken Tenders
(Crispy in 20 Minutes)
Introduction
Sometimes, you need a kid-friendly, crowd-pleasing recipe that is ridiculously easy to make.
Enter these Cheesy Parmesan Chicken Tenders—the perfect solution for busy
weeknights, quick appetizers, or whenever you’re craving something crispy yet satisfying.
With a simple breading process and a short baking time, you’ll have golden, cheesy chicken
strips on the table in about 20 minutes.
These chicken tenders combine the irresistible crunch of breadcrumbs with the savory tang
of parmesan cheese. The result? A finger food that packs maximum flavor without
deep-frying. This recipe is flexible enough to accommodate different seasonings, dipping
sauces, and sides. Whether you like them with marinara sauce, ranch dressing, or on top of
a fresh salad, you’ll love how these chicken tenders add a comforting, cheesy bite to any
meal.
No frying means less mess and fewer dishes, so you can focus on what matters: enjoying
delicious food with the people you love. Let’s dive into a fail-proof method for quickly
achieving crisp, cheesy perfection.
Why You’ll Love This Recipe
1. Quick & Easy: You only need about 20 minutes from start to finish, making this ideal
for weeknights or last-minute gatherings.
2. Cheesy, Crispy Goodness: The parmesan-infused breading ensures a crisp exterior
and a cheesy punch in every bite.
3. Kid-Approved: Chicken tenders are a family staple, and the added cheese makes
them even more irresistible.
4. Oven-Baked: No messy frying here—just pop them in the oven for a healthier,
hands-off cooking process.
5. Versatile: Switch up your seasonings, pair with different dipping sauces, or add them
to salads and wraps.

Ingredients
Below is what you’ll need for about four servings. Feel free to scale up or down, depending
on the size of your crowd.For the Chicken
● 1 pound chicken tenders (or boneless, skinless chicken breasts cut into strips)
● ½ teaspoon salt
● ½ teaspoon black pepper
● ½ teaspoon garlic powder (for subtle garlicky warmth)
For the Breading
● ½ cup all-purpose flour (or whole-wheat flour)
● 2 eggs, beaten
● ¾ cup breadcrumbs (panko or regular; panko yields extra crunch)
● ½ cup grated parmesan cheese (finely grated works best)
● 1 teaspoon Italian seasoning (optional but recommended for extra flavor)
Additional Options
● Cooking spray or oil for lightly coating the baking sheet
● Dipping sauces like marinara, ranch, or BBQ sauce
● Extra parmesan for sprinkling on top (because more cheese is always a good idea)
Note: If you don’t have chicken tenders, slice boneless, skinless chicken breasts into
uniform strips. This helps ensure even cooking.
Step-by-Step Instructions
Step 1: Preheat & Prep
1. Preheat the Oven: Set your oven to 400°F (200°C). This temperature balances a
quick cooking time with the need to get the coating crispy.
2. Prepare a Baking Sheet: Line it with parchment paper or aluminum foil for easy
cleanup. Lightly coat the surface with cooking spray or a thin layer of oil.
3. Pat the Chicken Dry: If using fresh chicken, pat each tender with paper towels to
remove excess moisture. This helps the breading adhere better.
Pro Tip: Letting the chicken sit at room temperature for 10 minutes before breading can help
it cook more evenly.
Step 2: Season & Assemble Your Breading Station
1. Season the Chicken: In a shallow dish, season the chicken tenders with salt,
pepper, and garlic powder.
2. Three Bowls Method: Set up three separate shallow bowls or plates.
○ Bowl 1: All-purpose flour○ Bowl 2: Two beaten eggs
○ Bowl 3: A mixture of breadcrumbs, grated parmesan, and Italian seasoning
3. Keep It Organized: Having everything ready makes breading faster and less messy.
Pro Tip: Add a pinch of salt and pepper to the flour and breadcrumb mixtures for extra
flavor. Layering seasonings ensures a well-seasoned tender.
Step 3: Bread the Chicken Tenders
1. Flour First: Take one chicken tender and lightly roll it in the flour, shaking off any
excess.
2. Dip in Egg: Move the floured chicken tender to the bowl with beaten eggs. Turn it
over a few times so it’s fully coated.
3. Coat with Parmesan Mixture: Transfer the chicken to the breadcrumb-parmesan
bowl. Press down gently, turning to cover all sides.
4. Arrange on Baking Sheet: Place the coated tender on your prepared baking sheet.
Repeat with the remaining chicken pieces, leaving a little space between each.
Pro Tip: Use one hand for the dry ingredients and the other for the wet to avoid
“breadcrumb buildup” on your fingers.
Step 4: Bake to Crispy Perfection
1. Lightly Spray the Chicken: For an extra crispy finish, lightly mist the tops of the
chicken with cooking spray or drizzle a small amount of oil.
2. Bake for 10 Minutes. Put the baking sheet on the middle rack. After 10 minutes,
carefully flip each tender.
3. Bake Another 5–10 Minutes: Continue baking until golden brown and the chicken is
cooked. The internal temperature should reach 165°F (74°C).
4. Optional Broil: If you want a deeper golden color, switch the oven to broil for the last
1–2 minutes, watching closely to avoid burning.
Pro Tip: Thin or smaller tenders might cook a bit faster, so keep an eye on the color to
ensure you don’t overbake.
Serving Suggestions
● Classic Dippers: Offer marinara, ranch, BBQ sauce, or honey mustard on the side.
● Side Dishes: Serve with a crisp salad, roasted vegetables, or oven-baked fries.
● In a Wrap: Slice up the tenders and add them to a tortilla with lettuce, tomatoes, and
a drizzle of your favorite dressing.● On Pasta: Pair them with spaghetti and marinara sauce, then top with extra
parmesan for a chicken-parmesan-inspired dinner.
Meal Prep & Storage
1. Make Ahead: Bread the chicken tenders up to an hour before baking. Store them on
a tray in the fridge until ready to cook.
2. Refrigeration: Place leftovers in an airtight container for up to 3 days.
3. Reheating: For the best texture, reheat in the oven or an air fryer at 350°F (175°C)
until warm. The microwave can make them soggy.
4. Freezing: You can freeze baked chicken tenders in a single layer on a sheet pan,
then transfer them to a freezer-safe bag for up to 2 months. Reheat directly from
frozen for an easy future meal.
Pro Tip: If you prefer super crispy leftovers, an air fryer at around 375°F (190°C) for 3–5
minutes does wonders.
Variations & Substitutions
● Spicy Kick: Add a teaspoon of cayenne pepper or chili flakes to the breadcrumb
mixture for heat.
● Gluten-Free: Use gluten-free flour and breadcrumbs (or crushed gluten-free cereal
like cornflakes) instead of all-purpose flour and standard breadcrumbs.
● Herb-Infused: Mix fresh or dried herbs (rosemary, thyme, or basil) into the parmesan
breadcrumb mixture for a more sophisticated flavor.
● Lower Carb: Swap breadcrumbs for almond flour or crushed pork rinds for a
keto-friendly version.
Common Questions
Q: Can I use chicken breasts instead of tenders?
A: Absolutely. Simply cut boneless, skinless chicken breasts into roughly the same size
strips. This ensures everything bakes evenly in about the same amount of time.
Q: How can I tell if the chicken is done without a thermometer?
A: Cut into the thickest part of a tender. The meat should be white and the juices clear, with
no pink remaining. However, a food thermometer is the most reliable method to reach 165°F
(74°C).Q: What’s the best way to keep the coating from falling off?
A: Pat the chicken dry first, and don’t skip the flour or egg steps. Press the breadcrumbs
gently into the chicken. Also, flipping only once during baking helps keep the coating intact.
Q: Do I need to flip the chicken halfway through baking?
A: Flipping promotes even browning on both sides. If you skip flipping, the underside might
be less crispy.
Q: Can I pan-fry these tenders instead?
A: Yes. Use a skillet over medium heat with enough oil to coat the bottom. Cook until golden
on each side. Keep in mind that baking is less messy and often healthier.
Conclusion
These Cheesy Parmesan Chicken Tenders deliver on all fronts: they’re crispy, cheesy,
quick to make, and versatile enough to fit into countless meals. The oven-baked method
keeps the process simpler and cleaner than frying yet still delivers a crunchy texture that
rivals your favorite restaurant’s chicken strips.
Whether you’re feeding picky eaters, hosting a game night, or simply looking for a comforting
dinner, this recipe ensures you won’t sacrifice flavor for convenience. Serve them as an easy
main course with a side of veggies or a salad, pack them into lunch boxes, or offer them as
an appetizer with various dipping sauces. However you choose to enjoy them, one thing is
sure: these chicken tenders will become a go-to for weeknights.