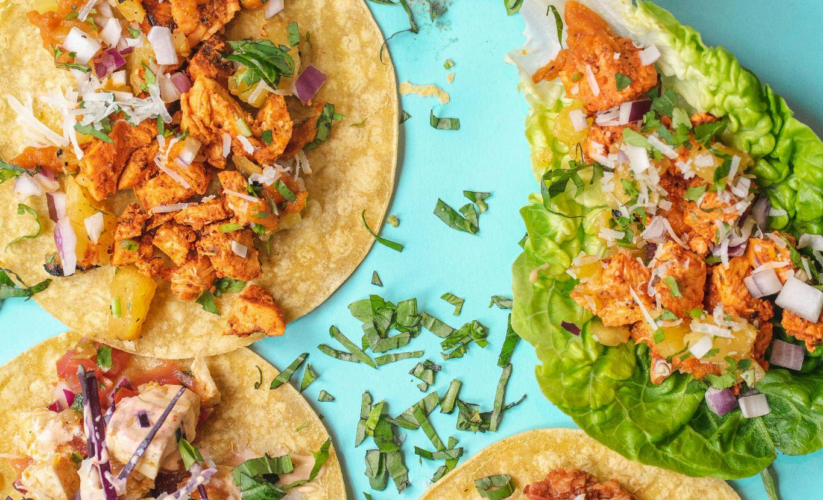
BBQ Chicken Quesadillas
(Cheesy and Ready in 15)
Introduction
Picture this: You get home from work or school, and you’re craving something melty,
savory, and comforting but don’t want to spend forever in the kitchen. That’s where these
BBQ Chicken Quesadillas come in—a 15-minute solution that combines tender chicken,
tangy BBQ sauce, and gooey cheese in a crispy tortilla. Each bite offers a sweet, smoky, and
delightfully cheesy burst of flavor.
Think of it as the perfect fusion of a classic quesadilla with all the best parts of barbecue
chicken pizza. These quesadillas are easily customized based on your favorite BBQ sauce,
cheese blend, and optional add-ins like jalapeños or extra veggies. Best of all, you can cook
them in a single skillet, so cleanup is minimal. Ready to whip up a crowd-pleasing meal that
both kids and adults will love?
Why You’ll Love This Recipe
1. Super Quick: Done in about 15 minutes, making them a lifesaver on busy
weeknights.
2. Cheesy Goodness: Melted cheese is always a hit; these quesadillas pack plenty of
it.
3. One-Pan Wonder: Prepare your filling in the same skillet you use to grill the tortillas.
This will make less mess and give you more time to enjoy.
4. Flexible: Use leftover chicken, rotisserie chicken, or even veggie substitutes. Adjust
the spice level with your choice of BBQ sauce.
5. Kid-Friendly: The sweetness of the barbecue sauce, combined with cheese and
tortilla, is practically guaranteed to please even the pickiest eaters.
Ingredients
Below is what you’ll need to make about four servings (two large quesadillas cut into
wedges). Feel free to scale up if you feed a crowd or want leftovers.

For the Filling
● 2 cups cooked chicken, shredded or diced
○ Leftover grilled chicken, rotisserie chicken, or even canned chicken works.● ½ cup BBQ sauce (use your favorite brand or homemade)
● 2 tablespoons finely chopped red onion (optional but adds a nice crunch)
● ½ teaspoon smoked paprika (optional for extra smoky flavor)
● Salt and pepper to taste
For Assembly
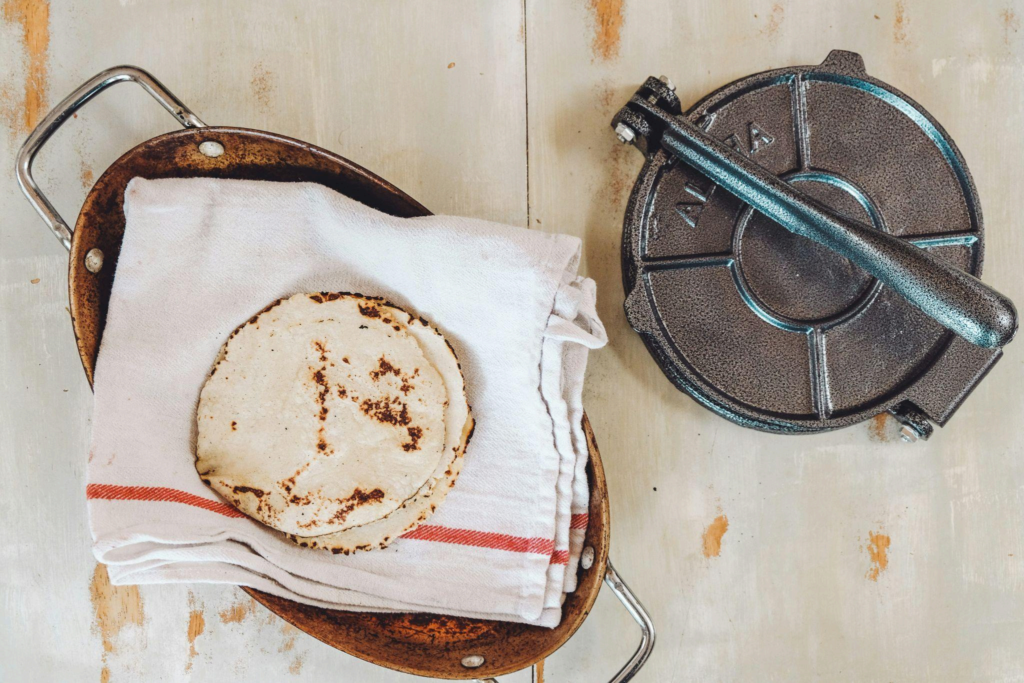
● 4 large flour tortillas (8–10 inch size)
● 2 cups shredded cheese (cheddar, Monterey Jack, or a blend)
● 1 tablespoon butter or oil (for crisping the tortillas)
Optional Add-Ins
● Chopped cilantro for fresh, herby brightness
● Sliced jalapeños for a spicy kick
● Diced bell peppers for extra crunch
Note: Precooked chicken is your best friend if you’re pressed for time. Shredded rotisserie
chicken, for example, adds both convenience and flavor.
Step-by-Step Instructions
Step 1: Warm the Chicken Filling
1. Combine Chicken & BBQ Sauce
In a medium bowl, mix the cooked chicken, BBQ sauce, smoked paprika, and
optional chopped red onion—season with salt and pepper to taste.
2. Heat in a Skillet
Place a skillet over medium heat, and add the chicken mixture. Warm for 2–3
minutes, stirring occasionally, to let the flavors meld. If it starts to dry out, add a
splash of water or a little extra BBQ sauce.
Pro Tip: Warming the filling before assembling ensures the cheese melts faster once you
build the quesadillas.
Step 2: Assemble the Quesadillas
1. Lay Out the Tortillas
On a flat surface, lay out the tortillas.
2. Spread Cheese
Sprinkle about ¼ cup of shredded cheese on half of each tortilla.
3. Add Chicken Mixture
Spoon the warm BBQ chicken mixture on the cheese layer, leaving room near the
edges to avoid overstuffing.4. Extra Cheese Layer
Top the chicken with another ¼ cup of shredded cheese, so the cheese is under
and over the filling.
5. Fold the Tortillas
Fold each tortilla in half, pressing gently to seal. You want a semicircle packed with
delicious BBQ chicken and melted cheese.
Pro Tip: If you want additional ingredients like jalapeños or bell peppers, add them before
folding. This keeps them fresh and crisp.
Step 3: Toast & Melt
1. Heat Butter or Oil
Using the same skillet (or a clean one if you prefer), melt one tablespoon of butter
over medium heat. You can also use oil if you’re watching dairy or want a different
flavor.
2. Cook the Quesadillas
Carefully place one or two folded quesadillas in the skillet, depending on its size.
Cook for 2–3 minutes per side or until the tortilla is golden brown and the cheese is
melted.
3. Flip Gently
Use a large spatula to flip the quesadillas. To maintain crispiness, add a bit more
butter or oil to the second side.
4. Keep Warm
Transfer cooked quesadillas to a plate lined with paper towels or place them on a
wire rack in a low oven (about 200°F/95°C) to keep them warm while you cook the
rest.
Pro Tip: Don’t rush the heat. Medium to medium-high is ideal. If it is too high, the tortilla may
burn before the cheese fully melts.
Serving Suggestions
● Cut & Garnish: Slice each quesadilla into wedges. If desired, garnish with chopped
cilantro or drizzle with extra BBQ sauce.
● Dipping Sauces: Ranch, sour cream, or a mix of BBQ sauce and mayo can be
excellent dips for these quesadillas.
● Side Dishes: Pair with a side salad, fries, or grilled vegetables. Slaw is another great
partner for that tangy BBQ flavor.
● Party Platter: If you’re hosting a crowd, cut each quesadilla into smaller triangles
and serve on a platter with different dips.Meal Prep & Storage
1. Make Ahead: You can prepare the chicken filling ahead of time and store it in the
refrigerator for up to 3 days. Warm it before assembling the quesadillas.
2. Refrigeration: Store leftover quesadillas in an airtight container or zip-top bag for up
to 3 days.
3. Reheating: For best results, reheat in a skillet over medium heat or the oven at
350°F (175°C). The microwave works in a pinch but may make the tortilla slightly
soggy.
4. Freezing: You can freeze cooked quesadillas, though they may lose some crispness
upon thawing. Wrap them individually in foil or plastic wrap, and reheat in the oven or
on a skillet.
Pro Tip: If you plan to freeze them, undercook the tortillas slightly so they don’t become
overly brown when you reheat them.
Variations & Substitutions
● Different Proteins: Try pulled pork, ground beef, or leftover grilled steak for a fun
spin on BBQ quesadillas.
● Cheese Choices: Monterey Jack, mozzarella, or pepper Jack melts beautifully. A
cheddar-jack blend is often a fan favorite.
● Gluten-Free: If you have dietary restrictions, use gluten-free tortillas. Also, make
sure your BBQ sauce and chicken are gluten-free.
● Veggie Quesadillas: For a vegetarian option, skip the meat and use beans, sautéed
mushrooms, or roasted vegetables.
● Spice It Up: If you like your quesadillas spicy, add chopped jalapeños or a sprinkle of
cayenne pepper for extra heat.
Common Questions
Q: Can I use raw chicken instead of cooked chicken?
A: Yes, but you’ll need to thoroughly cook it—dice or shred it after cooking. This will add
extra time, pushing the recipe beyond 15 minutes.
Q: What if I don’t have a skillet that fits a large tortilla?
A: You can cut your tortilla in half and assemble smaller quesadillas or cook them one half at
a time. Alternatively, use a griddle if you have one.
Q: Do I need butter and oil, or can I use cooking spray?
A: Cooking spray works fine for a lighter option, though butter or oil typically gives a richer
flavor and a crispier crust.Q: How do I keep the tortilla from burning?
A: Keep the heat at medium or medium-high and watch closely. If the tortilla browns too fast,
lower the heat.
Q: Can I bake these in the oven instead of cooking them on the stovetop?
A: Absolutely. Preheat your oven to about 400°F (200°C), assemble the quesadillas on a
baking sheet, and bake for 8–10 minutes, or until cheese is melted and tortillas are crispy.
Conclusion
These BBQ Chicken Quesadillas offer a mouthwatering blend of smoky, sweet barbecue
flavors and ooey-gooey cheese—all sandwiched between crispy flour tortillas. And with
just 15 minutes from start to finish, they’re the perfect solution for a hectic weeknight or a
spontaneous comfort food craving.
You can’t go wrong if you keep it simple with classic BBQ sauce and cheddar or customize
them with spicy jalapeños and a blend of different cheeses. In no time, you’ll have a stack of
toasty quesadillas that work as a solo meal, a sharable appetizer, or even a fun party food.
Give them a try tonight, and watch as they quickly become a staple in your rotation of quick,
tasty meals.