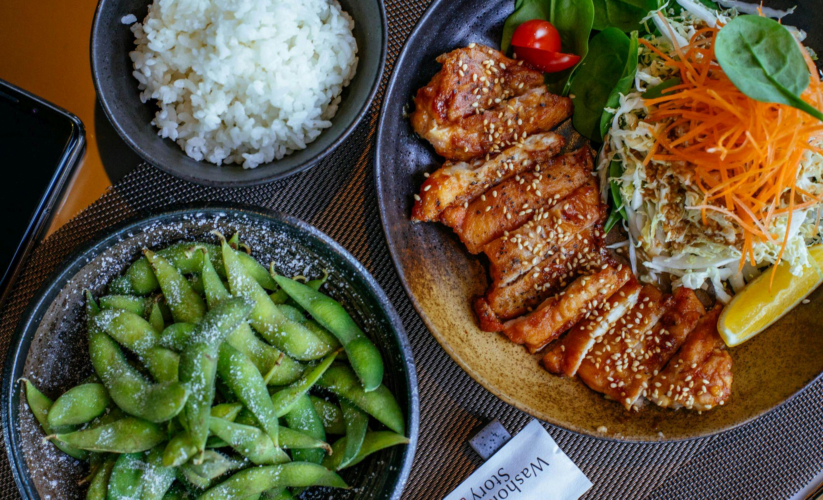
Spicy Grilled Chicken Breast with Quinoa
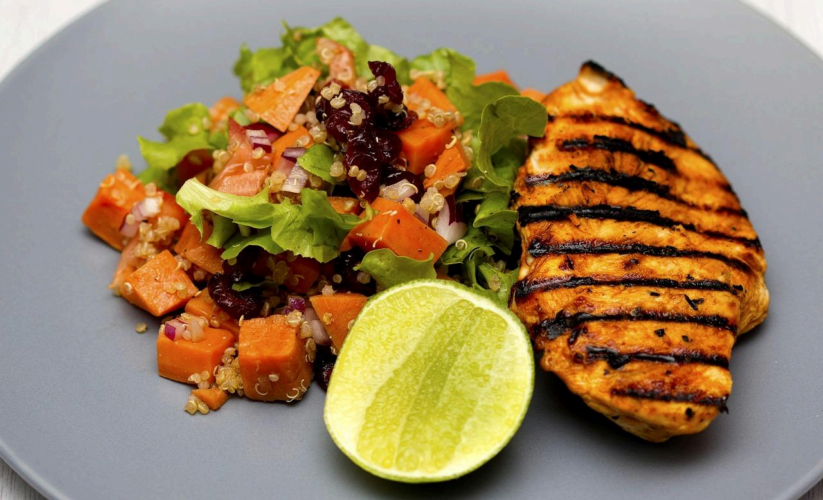
(A Protein-Packed Meal Prep
Staple)
Introduction
When it comes to fueling your day with high-quality protein, few meals are as versatile and
satisfying as Spicy Grilled Chicken Breast with Quinoa. This combination delivers lean
protein from juicy, well-seasoned chicken alongside quinoa’s complete amino acid
profile—ideal for post-workout replenishment or simply for keeping energy levels steady
throughout a busy day. Better yet, it’s highly adaptable: tweak the spice levels to suit your
palate, and add fresh veggies or a simple sauce for a meal that’s both robust and
wholesome.
The beauty of this recipe lies in its simplicity. You’ll rub chicken breasts with a smoky, spicy
blend, then grill them to lock in flavor and create a lightly charred crust. Meanwhile, the
quinoa cooks up fluffy and fragrant, providing a nutty base that pairs perfectly with the heat
of the chicken. Pack it all into individual containers for the workweek, and you’ve got a
protein-packed meal prep that’s as convenient as it is tasty. Let’s dive into each step, from
the ingredient list to the best ways to store and reheat, ensuring your meal prep game stays
on point.
Why You’ll Love This Recipe
1. Protein Powerhouse: Both chicken and quinoa contribute to a protein-rich meal that
supports muscle repair and keeps you fuller for longer.
2. Customizable Spice: Easily adjust the chili level to your liking—go mild for a gentle
kick or turn up the heat for serious spice lovers.
3. Simple & Quick: Grill your chicken in a matter of minutes, and cook the quinoa while
you wait. You can have the main components ready in about half an hour.
4. Perfect for Meal Prep: Portion it out immediately for up to four or five days of
ready-to-go lunches or dinners.
5. Nutrient-Dense: Quinoa is a complete protein with essential amino acids, while
grilled chicken offers lean protein with minimal fat—making this dish as wholesome
as it is delicious.
IngredientsBelow is a guide for about 4 servings. Feel free to scale up or down depending on your
meal-prep goals or family size.
Chicken Marinade
● 1½–2 pounds boneless, skinless chicken breasts (about 3–4 medium breasts)
● 1 tablespoon olive oil
● 1½ teaspoons chili powder
● 1 teaspoon smoked paprika (adds smoky flavor; optional but recommended)
● 1 teaspoon garlic powder
● ½ teaspoon cumin (for a warm, earthy note)
● ½–1 teaspoon cayenne pepper (adjust based on heat preference)
● 1 teaspoon salt (or to taste)
● ½ teaspoon black pepper (or to taste)
(Conversation Tip: For juicier meat, consider using chicken thighs. Just keep in mind the
cooking time may vary slightly because thighs can be thicker and fattier.)
Quinoa
● 1 cup quinoa (white, red, or tri-color; rinsed if needed)
● 2 cups water or chicken broth (broth adds more flavor)
● ¼ teaspoon salt (or to taste)
● 1 tablespoon olive oil (optional; helps add a silky texture)
Optional Add-Ons
● Diced bell peppers, cherry tomatoes, or cucumbers for extra color and nutrients
● A simple sauce such as a yogurt-based dressing or sriracha aioli
● Fresh herbs like cilantro or parsley for garnish
● A wedge of lime for a tangy squeeze over the chicken and quinoa
(Conversation Tip: If you want to boost the fiber and micronutrient profile, toss in some
roasted or grilled vegetables, like zucchini, onions, or broccoli.)
Step-by-Step Instructions
Step 1: Marinate the Chicken
1. Create the Spice Mix: In a small bowl, combine chili powder, smoked paprika, garlic
powder, cumin, cayenne pepper, salt, and black pepper. Mix well.
2. Drizzle Oil: Place the chicken breasts in a shallow dish or a zip-top bag. Drizzle olive
oil over them.
3. Rub in Spices: Sprinkle the spice mix evenly over both sides of the chicken,
massaging it in to ensure thorough coverage.4. Marinate: For the best flavor, let the chicken rest with the spices for 15–30 minutes.
If you have extra time, you can marinate it for up to 24 hours in the refrigerator for a
deeper flavor infusion.
(Conversation Tip: If you’re tight on time, even a 10-minute rest can help the spices adhere
and kickstart the flavor process.)
Step 2: Cook the Quinoa
1. Rinse (If Needed): Most quinoa sold in stores is pre-rinsed to remove the bitter outer
coating (saponin). If yours isn’t, rinse it in a fine mesh strainer under running water.
2. Combine in Pot: In a medium saucepan, add 1 cup quinoa, 2 cups water (or
chicken broth), salt, and a splash of olive oil (if desired).
3. Bring to a Boil: Set the pot over medium-high heat and bring to a rolling boil.
4. Simmer & Cover: Reduce the heat to low, cover the pot with a tight-fitting lid, and let
it simmer for 15–18 minutes, or until all the liquid is absorbed.
5. Fluff & Rest: Remove the pot from heat and let it sit, covered, for 5 minutes. Then
fluff with a fork, which separates the grains and keeps them light and airy.
(Conversation Tip: Adding a bay leaf or a clove of garlic to the quinoa during cooking can
subtly enhance the flavor. Just remember to remove them before serving.)
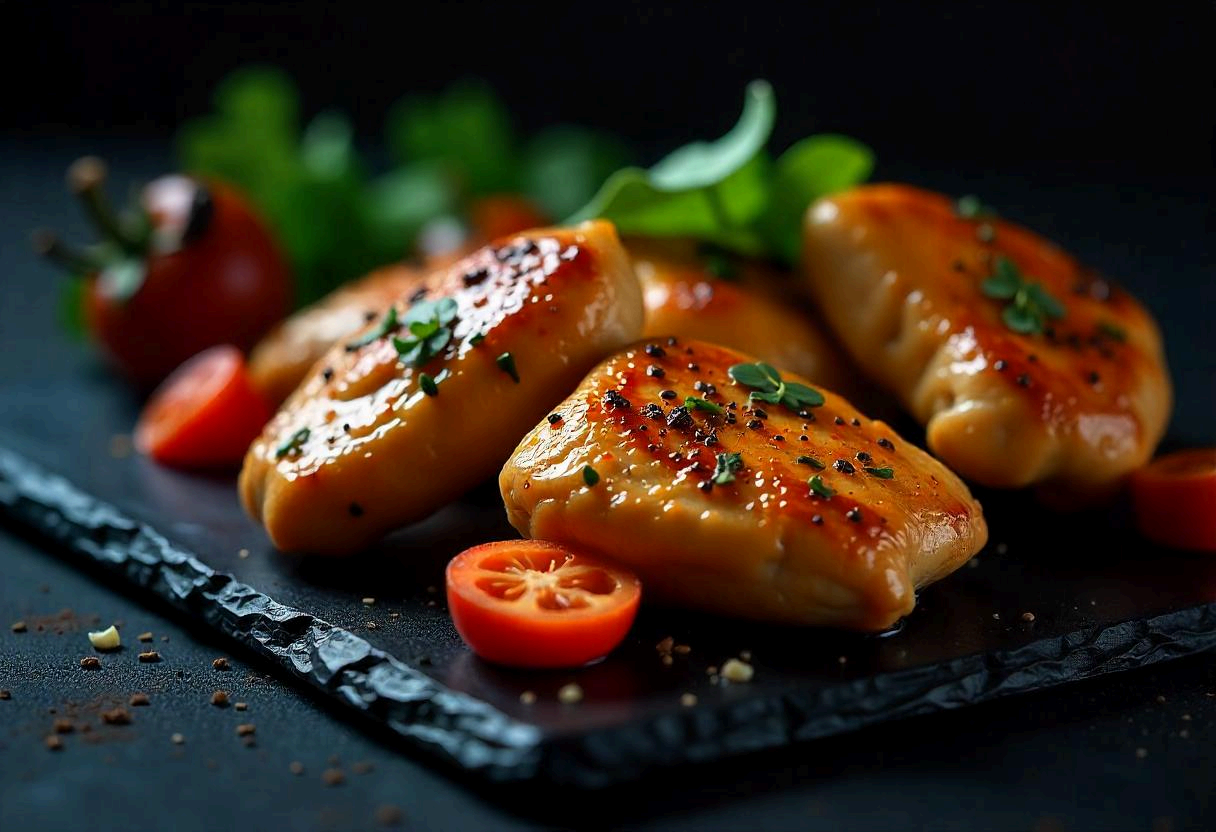
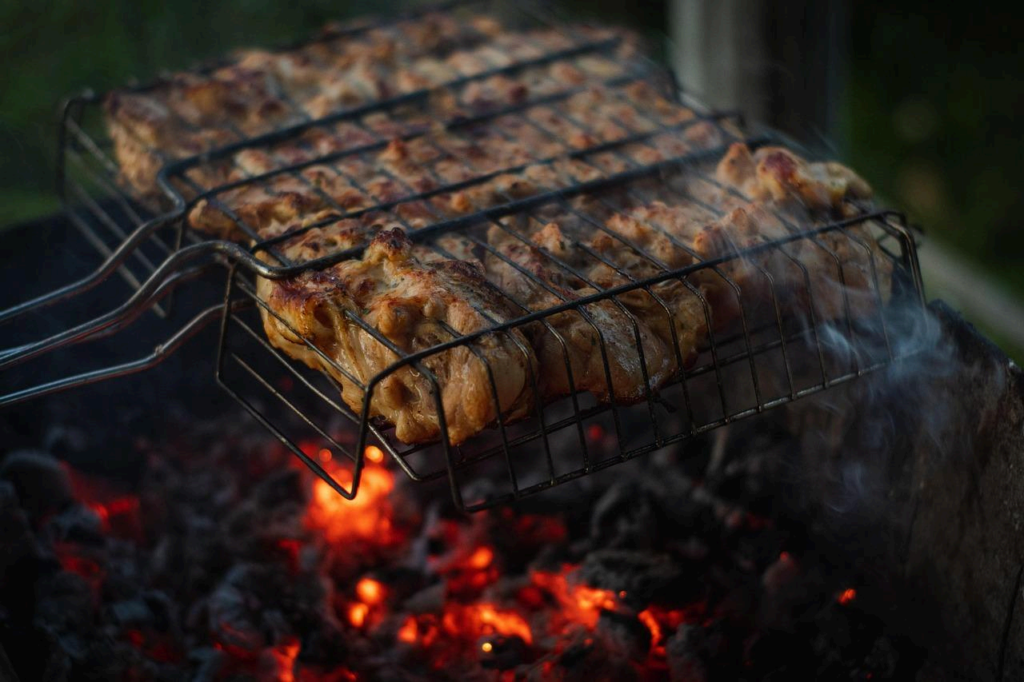
Step 3: Grill the Chicken
1. Preheat the Grill: Whether you’re using an outdoor grill or a stovetop grill pan,
preheat it to medium-high heat. Lightly grease the grates with cooking spray or
brush with oil to prevent sticking.
2. Check Thickness: If your chicken breasts are especially thick, consider pounding
them lightly to ensure even cooking.
3. Grill Time: Place the chicken breasts on the grill and cook for about 4–6 minutes
per side, depending on thickness. Aim for an internal temperature of 165°F (74°C).
4. Caramelization: Watch for the hallmark grill marks and slight charring. Avoid
pressing down on the chicken with your spatula; it squeezes out juices and can lead
to dryness.
5. Rest the Chicken: Transfer the grilled chicken to a plate or cutting board and let it
rest for about 5 minutes to redistribute juices.
(Conversation Tip: If you don’t have a grill, you can also sear the chicken in a cast-iron
skillet or bake it in a 400°F (200°C) oven for 20–25 minutes.)
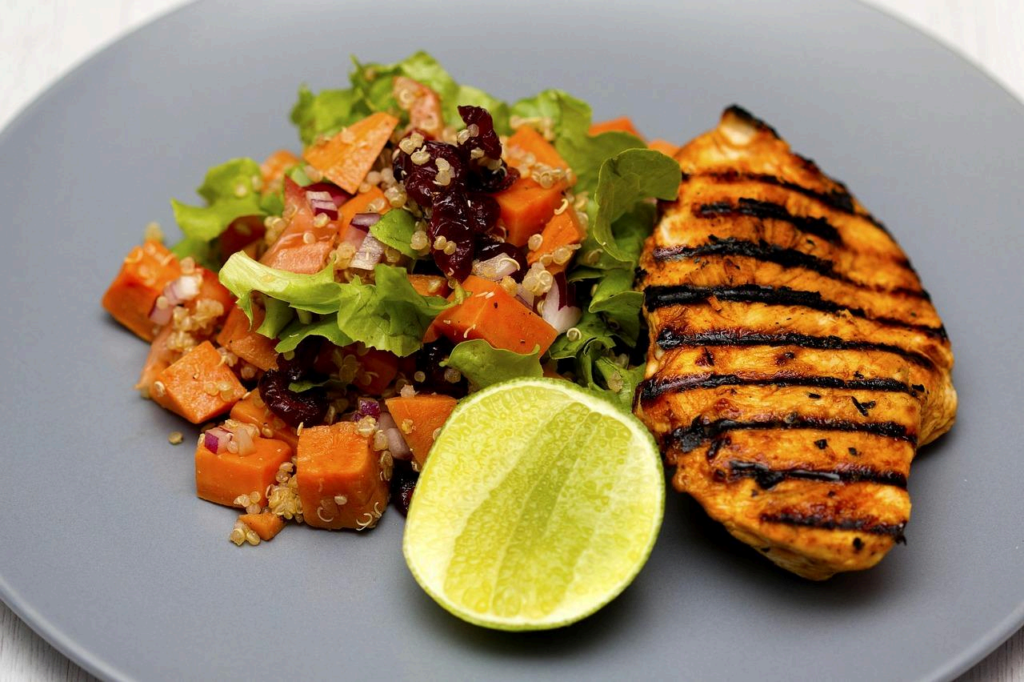
Step 4: Assemble Your Meal
1. Slice or Dice: Once rested, slice the chicken into strips or cubes, or keep the breasts
whole if you prefer.
2. Portion the Quinoa: Divide the quinoa into 4 meal-prep containers (or whatever
number you need).
3. Top with Chicken: Place a portion of chicken on top of or alongside the quinoa in
each container.4. Garnish: If desired, add chopped fresh herbs, a drizzle of sauce, or a squeeze of
lime juice. You can also tuck some chopped veggies or roasted vegetables into each
container for a balanced meal.
(Conversation Tip: Keep sauces or dressings in small separate containers if you plan to
reheat the dish. This way, they stay fresh and don’t water down the chicken or quinoa.)
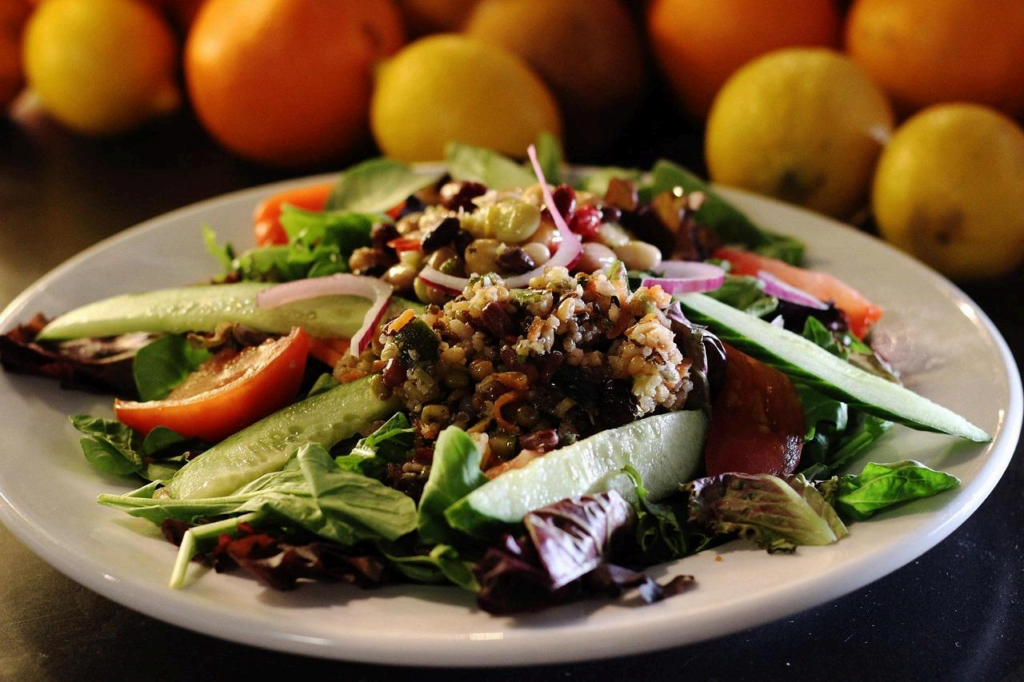
Serving Suggestions
● Fresh Salsa: Spoon some fresh salsa or pico de gallo over your chicken for a bright,
refreshing kick.
● Greek Yogurt Topping: Cool down the heat of the spices by adding a dollop of plain
Greek yogurt or tzatziki.
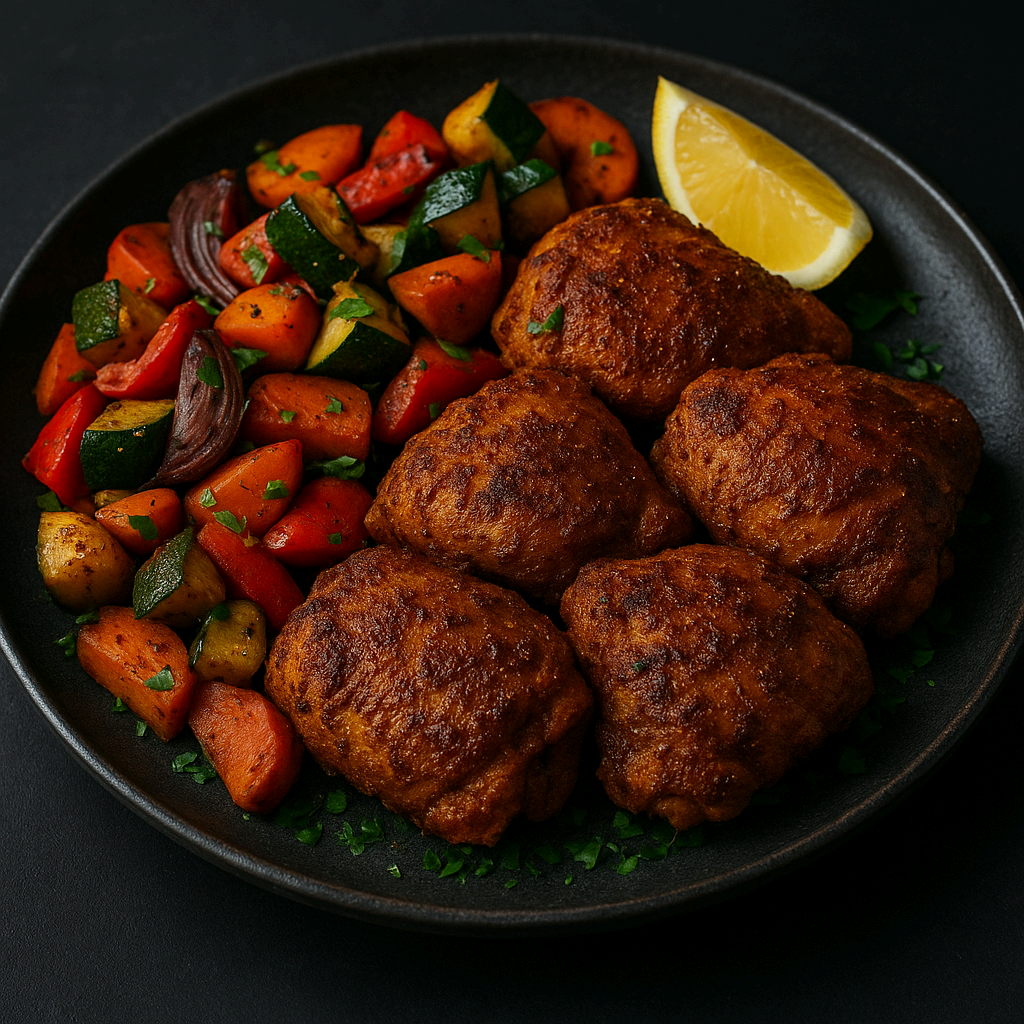
● Roasted Veggies: For a more substantial meal, include roasted bell peppers,
onions, or zucchini. Their sweetness contrasts nicely with the spicy rub.
● Leafy Greens: Serve the chicken and quinoa over a bed of spinach, kale, or romaine
for added vitamins and crunch.
● Wrap or Pita: Transform your meal into a wrap or pita pocket by layering the quinoa,
chicken, and any veggies or sauce you like.
(Conversation Tip: Make each container unique throughout the week by varying the
toppings—guacamole on Monday, fresh cilantro and lime on Tuesday, or sriracha drizzle on
Wednesday, etc.)
Meal Prep & Storage
1. Cool Down: Allow the chicken and quinoa to cool slightly before sealing them in
containers—this helps preserve texture and flavor.
2. Refrigeration: Store your containers in the fridge for up to 4 days.
3. Freezing: If you won’t eat all portions within that timeframe, freeze for up to 3
months. Thaw overnight in the refrigerator before reheating.
4. Reheating:
○ Microwave: Heat on 70–80% power in 1-minute intervals, stirring or flipping
the chicken as needed.
○ Skillet: For added crispiness, reheat sliced chicken in a lightly oiled skillet
over medium heat. Warm the quinoa separately or together with the chicken,
adding a splash of water or chicken broth if it seems dry.
○ Oven: If you have time, warm in a 350°F (175°C) oven, covered, for about
10–15 minutes.
(Conversation Tip: Label each container with the date to keep track of freshness, and
consider storing sauce or fresh veggies separately to maintain their taste and texture.)Variations & Substitutions
1. Protein Alternatives
○ Turkey Breast: Leaner and similar cooking methods to chicken.
○ Shrimp: Cooks in a flash, making it ideal for quick grills. Just reduce the grill
time to 2–3 minutes per side.
○ Firm Tofu or Tempeh: For a vegetarian or vegan twist, marinate in the same
spice blend and grill until nicely charred.
2. Grain Swaps
○ Brown Rice: Offers a similar nutritional profile but with a chewier bite.
○ Farro or Bulgur: Gives a hearty texture; cooking times may vary, so check
package instructions.
○ Cauliflower Rice: For a low-carb option, sauté cauliflower rice quickly in a
skillet; it doesn’t need as long to cook as grains do.
3. Flavorful Add-Ins
○ Citrus Zest: Incorporate lime or lemon zest into the spice rub for a tangy
dimension.
○ Herb Blends: Add dried oregano, thyme, or rosemary to the rub for an herby
undertone.
○ Sauces: Drizzle a homemade chimichurri or salsa verde to balance the
smoky flavors.
4. Spice Level Control
○ Less Heat: Omit or reduce cayenne pepper, and try chili powder labeled
“mild.”
○ More Heat: Add a pinch of red pepper flakes or a dash of hot sauce (like
sriracha) right before serving.
(Conversation Tip: Keep track of changes that work well. Building a quick flavor repertoire
makes future meal preps more exciting!)
Common Questions
Q: Can I cook the chicken in an oven instead of grilling?
A: Absolutely. Preheat the oven to 400°F (200°C) and bake for about 20–25 minutes, or
until the internal temperature reaches 165°F (74°C). Broil for the last 2 minutes if you want a
lightly charred effect.
Q: How do I prevent my chicken from drying out?
A: A few tips: Marinate in oil and spices, avoid overcooking (use a meat thermometer to stop
at 165°F), and let the chicken rest for 5 minutes before slicing. Using chicken thighs instead
of breasts also helps with moisture.
Q: Do I have to rinse quinoa before cooking?
A: Many brands come pre-rinsed to remove the bitter saponin coating. If not, a quick rinse in
a fine mesh strainer is recommended to improve taste.Q: Can I meal prep this for more than 4 days?
A: Typically, cooked chicken and grains keep best for 4 days in the fridge. You can extend
storage by freezing portions you won’t eat within that time.
Q: Is this recipe kid-friendly if it’s spicy?
A: If cooking for children or spice-averse eaters, reduce or omit the cayenne pepper and opt
for mild chili powder. You can always serve hot sauce on the side for the spice lovers.
Conclusion
Spicy Grilled Chicken Breast with Quinoa strikes the perfect balance between flavor,
nutrition, and convenience—making it a go-to recipe in any meal prep rotation. The smoky
heat of the chili rub enlivens lean chicken, while fluffy quinoa offers a nutrient-rich foundation
that fills you up without weighing you down. This dynamic duo is easy to portion out, store,
and reheat, ensuring you’ll have a satisfying, protein-packed meal ready at a moment’s
notice.
Whether you keep it simple with a sprinkle of herbs and a splash of lime juice or dress it up
with roasted veggies and a tangy sauce, this meal plan is adaptable enough to suit a variety
of tastes. Before you know it, you’ll have a set of containers waiting in your fridge, each
promising a spicy, savory treat that fuels you through long workdays, late-night study
sessions, or busy family schedules. Give it a try—and feel free to add your personal twist
along the way. Enjoy!