Greek Chicken Kebabs (Paleo & Keto)
Are you looking for a versatile, low-carb chicken dish that bursts with Mediterranean flavors?
Greek Chicken Kebabs (Paleo & Keto) might just be the recipe you need. These skewers
showcase tender, marinated chicken pieces infused with fresh herbs, garlic, lemon, and olive
oil. Once grilled or baked, they turn into a succulent meal that fits neatly into Paleo and
ketogenic dietary guidelines. Best of all, the recipe requires only a handful of
ingredients—many of which you may already have on hand.
In this guide, you’ll find everything you need to recreate these flavorful Greek chicken
kebabs at home. From choosing the right cuts of chicken to crafting a vibrant marinade and
grilling techniques that ensure you get perfectly cooked meat every time, we’ll walk you
through the entire process. We’ll also cover tips for adjusting the recipe to various dietary
preferences, suggestions for side dishes that complement Greek flavors, and answers to
common questions about storage and reheating. If you’re ready to treat your taste buds to a
healthy, protein-packed dinner that doesn’t skimp on flavor, read on for the step-by-step
details.
Why You’ll Love This Recipe
1. Mediterranean Flair: If you love the bold flavors of Greek cuisine—think lemon,
garlic, oregano—these kebabs capture that essence in a satisfying, easy-to-prepare
dish.
2. Healthy & Low-Carb: Perfect for Paleo or keto eaters, each skewer packs protein
without the grains or sugary marinades often found in store-bought versions.
3. Meal-Prep Friendly: Marinate the chicken ahead of time so it’s ready to cook when
you need a quick lunch or dinner.
4. Versatile Cooking Methods: Whether you prefer outdoor grilling, indoor grill pans,
or baking in the oven, these kebabs adapt to your kitchen setup.
5. Crowd-Pleasing: Great for feeding a group, as everyone can grab a skewer or two
and customize the dish with their favorite dips or sides.
Ingredients
Below is what you’ll need to make about 4 servings, though you can adjust quantities if you
have a larger crowd or if you want leftovers for lunch the next day.Main Components
● 1½ to 2 pounds boneless, skinless chicken breasts or thighs, cut into 1½-inch
chunks
● Wooden or metal skewers (If using wooden skewers, soak them in water for at least
20 minutes to reduce burning)
Greek Marinade
● ⅓ cup extra virgin olive oil
● ¼ cup fresh lemon juice (about 1–2 lemons, depending on their size)
● 2 teaspoons lemon zest (optional but adds extra brightness)
● 3 cloves garlic, minced (or 1 teaspoon garlic powder if you’re in a pinch)
● 1 tablespoon dried oregano (Greek oregano is ideal if you can find it)
● 1 teaspoon dried basil (or dried thyme)
● ½ teaspoon salt (or to taste)
● ¼ teaspoon black pepper (or to taste)
● (Optional) ¼ teaspoon red pepper flakes if you enjoy a mild kick
Optional Veggies for Kebabs
● Bell peppers (cut into 1-inch squares)
● Red onion (cut into 1-inch chunks)
● Zucchini or yellow squash (sliced into 1-inch rounds)
(Note) Always verify that your dried herbs, spices, and other ingredients contain no hidden
additives or sugars if you’re following strict Paleo or keto guidelines.
Step-by-Step Instructions
Step 1: Prepare the Marinade1. Gather Your Ingredients: Place the olive oil, fresh lemon juice, lemon zest (if using),
minced garlic, dried oregano, dried basil, salt, and black pepper into a medium-sized
bowl.
2. Whisk It Together: Use a whisk or fork to blend the ingredients until they’re well
combined. You’ll notice the marinade taking on a slightly thicker consistency thanks
to the lemon juice mixing with the olive oil.
3. Taste Test: Dip a spoon into the marinade and take a small sample. Adjust the
seasoning with more salt, pepper, or lemon juice if desired. If you like extra heat, stir
in the optional red pepper flakes.
Conversation Tip: The balance of olive oil to lemon juice should be tangy yet smooth,
enough lemon to brighten the flavor without overwhelming the delicate taste of the chicken.
Step 2: Marinate the Chicken
1. Prep the Chicken: Cut your chicken breasts or thighs into roughly 1½-inch chunks.
Aim for even sizes so they cook uniformly.
2. Combine: Place the chicken pieces in a large zip-top bag or a glass container with a
lid.
3. Pour the Marinade: Gently drizzle the marinade over the chicken chunks. Seal the
bag (or container) and massage it a bit to ensure every piece is coated.
4. Marinate Time: Refrigerate the marinating chicken for at least 30 minutes. For a
deeper flavor, consider marinating for 2–4 hours. If you have the time, overnight is
even better.
Conversation Tip: If you’re short on time, 30 minutes will suffice, but don’t skip the
marinade step completely. A quick soak still imparts noticeable flavor.
Step 3: Assemble the Kebabs
1. Soak Wooden Skewers: If you’re using wooden skewers, remember to soak them in
water for about 20 minutes. This helps prevent them from scorching on the grill or in
the oven.
2. Optional Veggies: If you’d like veggies on the kebabs, prepare them now. Bell
peppers, onions, and zucchini are classic Greek pairings. Cut them into similar chunksizes.
3. Thread It All: Alternate chicken chunks with your chosen veggies. Leave a little
space between pieces so the heat can circulate, allowing them to cook evenly.
4. Reserve Marinade: If there’s leftover marinade, you can brush it onto the kebabs
just before cooking or discard it, especially if you’re concerned about
cross-contamination. (Never reuse raw marinade unless boiled thoroughly for safety.)
Conversation Tip: Keep kebabs from being overcrowded. Packing on too many pieces can
lead to uneven cooking. A bit of space between items is key.
Step 4: Grill or Bake
Grilling Instructions
1. Preheat the Grill: Aim for medium-high heat, around 375–400°F. Lightly oil the
grates to minimize sticking.
2. Lay the Kebabs: Carefully place each skewer on the grill, leaving some space
between them.
3. Cook & Flip: Grill for 4–5 minutes on the first side, then flip them using tongs. Cook
for another 4–6 minutes on the other side. Chicken typically needs to reach an
internal temperature of 165°F (74°C) to be fully cooked.
4. Check Doneness: If you’re unsure, cut into the thickest piece of chicken or use a
meat thermometer. Juices should run clear, and the inside should be opaque.
Oven-Baking Instructions
1. Preheat the Oven: Set to 400°F (200°C). Line a baking sheet with foil or parchment
paper for easier cleanup.
2. Arrange the Kebabs: Lay each skewer on the baking sheet, giving them room to
breathe.
3. Bake: Slide the sheet onto a middle rack. Bake for about 20–25 minutes, turning the
skewers halfway through. Look for that 165°F (74°C) internal temperature or clear
juices as a sign they’re done.
4. Optional Broil: If you want a bit more char or crispiness, switch the oven to broil for
the last 1–2 minutes. Keep a close eye on them to avoid burning.Conversation Tip: Different ovens and grills vary in heat output. Always use a thermometer
or a quick slice test to confirm your chicken is cooked through.
Serving Suggestions
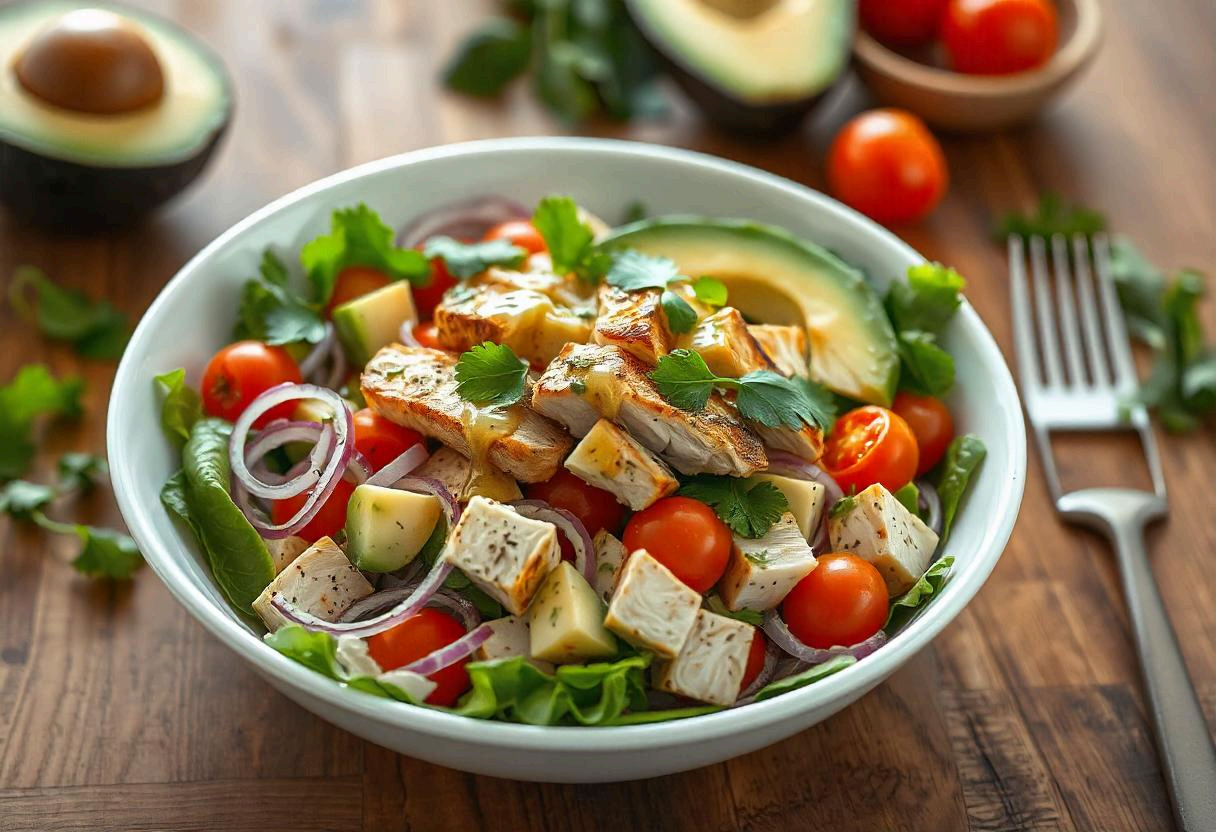
● Low-Carb “Sides”: Pair with cauliflower rice, zoodles (zucchini noodles), or a simple
Greek salad (tomatoes, cucumber, red onion, olives, and feta cheese if you’re not
strictly Paleo).
● Dipping Sauce: For extra flavor, whip up a quick Paleo-friendly tzatziki using
coconut yogurt, grated cucumber, garlic, lemon juice, and dill. If you do dairy,
traditional Greek yogurt works great, though it’s not strictly Paleo.
● Fresh Herbs & Lemon: Finish each kebab with a sprinkle of fresh parsley or
oregano, plus a final squeeze of lemon juice to heighten the tang.
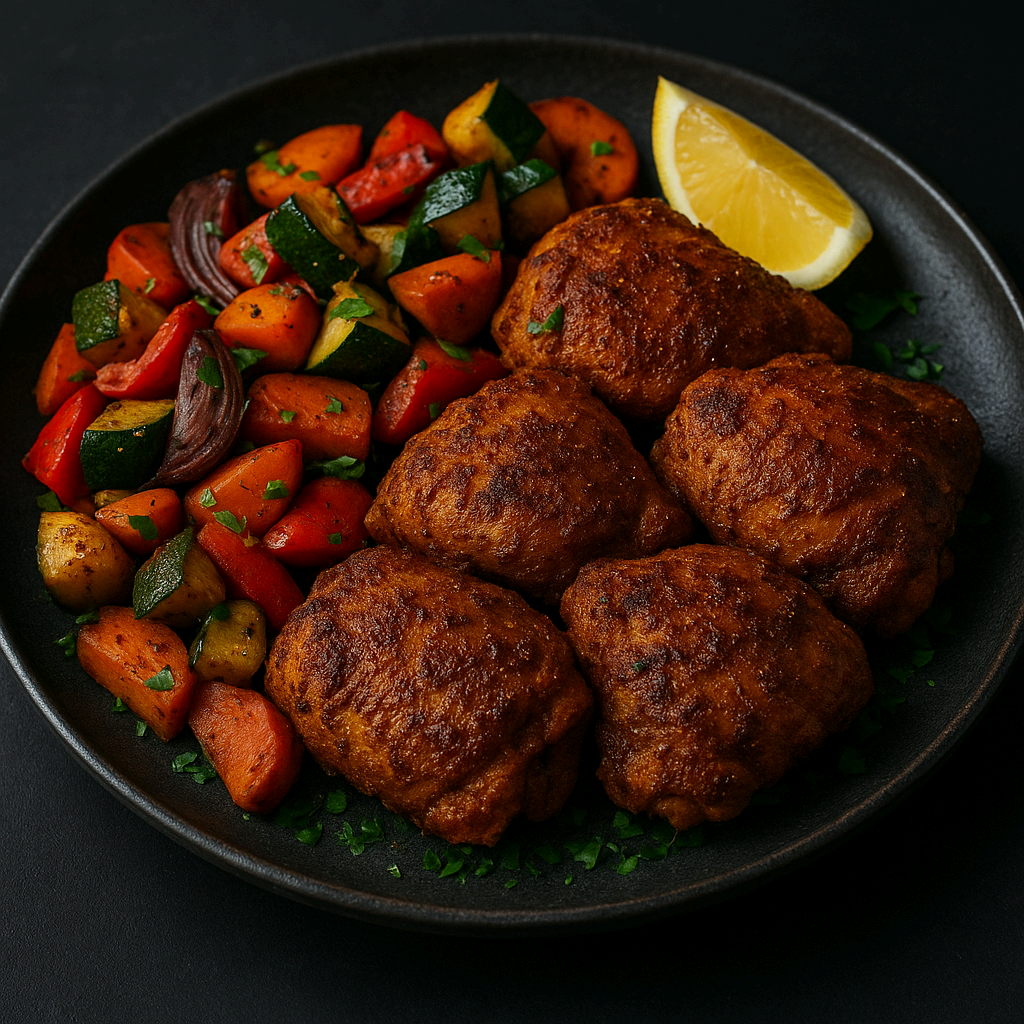
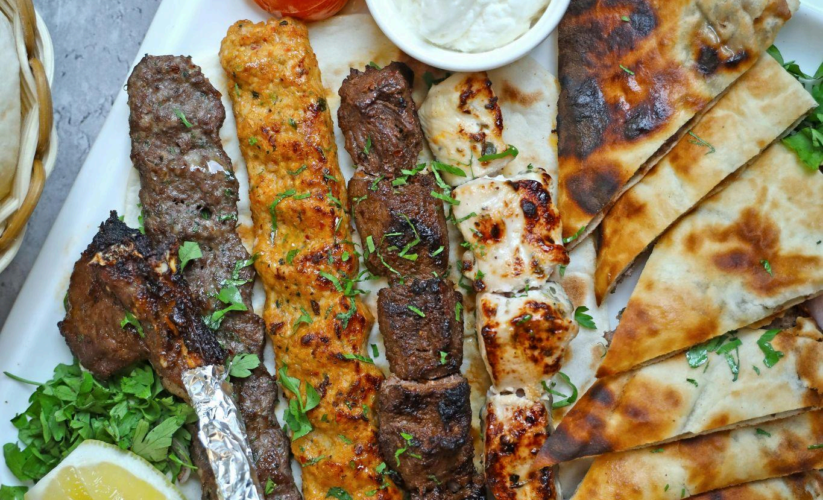
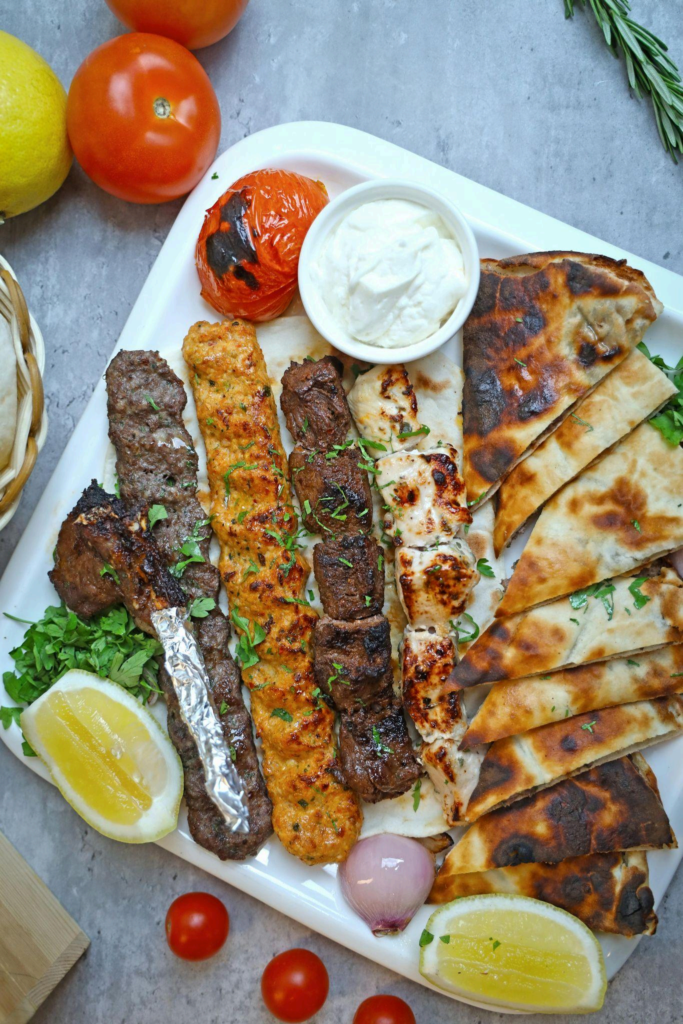
● Platter Presentation: Serve the kebabs on a large platter with lemon wedges, sliced
red onions, and olives for a vibrant, Mediterranean-inspired centerpiece.
Meal Prep & Storage
1. Cook in Bulk: If you anticipate wanting leftovers, double the recipe and store the
extra kebabs for lunches or quick dinners.
2. Refrigeration: Transfer cooked kebabs to an airtight container. They’ll keep in the
fridge for up to 3–4 days.
3. Freezing: Uncooked, marinated chicken cubes can be frozen in a sealed bag for up
to 2 months. Thaw overnight in the fridge before threading onto skewers.
4. Reheating: Warm leftovers on the stovetop in a skillet with a splash of olive oil or in
the microwave in short intervals. Be careful not to overheat and dry out the chicken.
5. Separating Components: If you included veggies on the skewers, note that they
may soften further upon reheating. You can also store the meat and veggies
separately, especially if you plan on meal prepping in large quantities.
Variations & Substitutions● Other Proteins: The marinade works equally well with fish (like salmon) or
shrimp—just adjust cooking time accordingly, as seafood cooks faster.
● Different Cuts of Chicken: Boneless, skinless thighs are extra juicy and can handle
a longer grill time without drying out. They’re also Paleo and keto-friendly.
● Herb Swaps: If you’re out of oregano, mix in dried thyme, marjoram, or rosemary.
Fresh herbs like dill or parsley also pair nicely with lemon and garlic.
● Spice Boost: Crave extra heat? Add chili flakes, a pinch of cayenne, or hot paprika.
You can also drizzle a spicy olive oil dressing on top after cooking.
● Marinade Tweaks: Experiment with adding a splash of red wine vinegar or balsamic
vinegar for a more robust flavor. Just be cautious with balsamic if you’re watching
carbs, as some brands can contain added sugars.
Common Questions
Q: Is this marinade keto-friendly?
A: Yes. The marinade relies on olive oil, lemon juice, and herbs—no added sugars. Just
double-check labels on any dried herbs or spices to ensure no hidden additives.
Q: Can I marinate the chicken longer than overnight?
A: Generally, 8–12 hours is ideal. Going beyond 24 hours might break down the chicken’s
texture too much due to the acidic lemon juice.
Q: How can I avoid dried-out chicken breast on the grill?
A: Watch your grill temperature. Medium-high is typically best. If the grill is too hot, chicken
can burn on the outside while staying undercooked in the center. A meat thermometer is
your best friend—pull the chicken off as soon as it hits 165°F (74°C).
Q: Are these kebabs okay to serve to people not on a Paleo or keto diet?
A: Absolutely! The flavors appeal to a wide audience. You could even serve additional sides
like pita bread or rice for those who aren’t limiting carbs.
Q: Should I use fresh or bottled lemon juice?
A: Fresh lemon juice gives a brighter, more authentic taste. Bottled juice works in a pinch,
but the flavor may not be as vibrant.
Conclusion:
Greek Chicken Kebabs (Paleo & Keto) capture the essence of Mediterranean cooking: bold,
zesty, and refreshingly straightforward. By marinating succulent chunks of chicken in a blend
of olive oil, lemon, garlic, and herbs, you create a healthy dish without feeling restrictive.
Perfect for either a weeknight dinner or a relaxed backyard gathering, these kebabs can be
customized with colorful veggies, spicier rubs, or fresh herbs to suit your tastes.
Whether you grill them outdoors, bake them in the oven, or even cook them on a stovetop
grill pan, the result is a reliably delicious meal that showcases why Greek-inspired cuisine
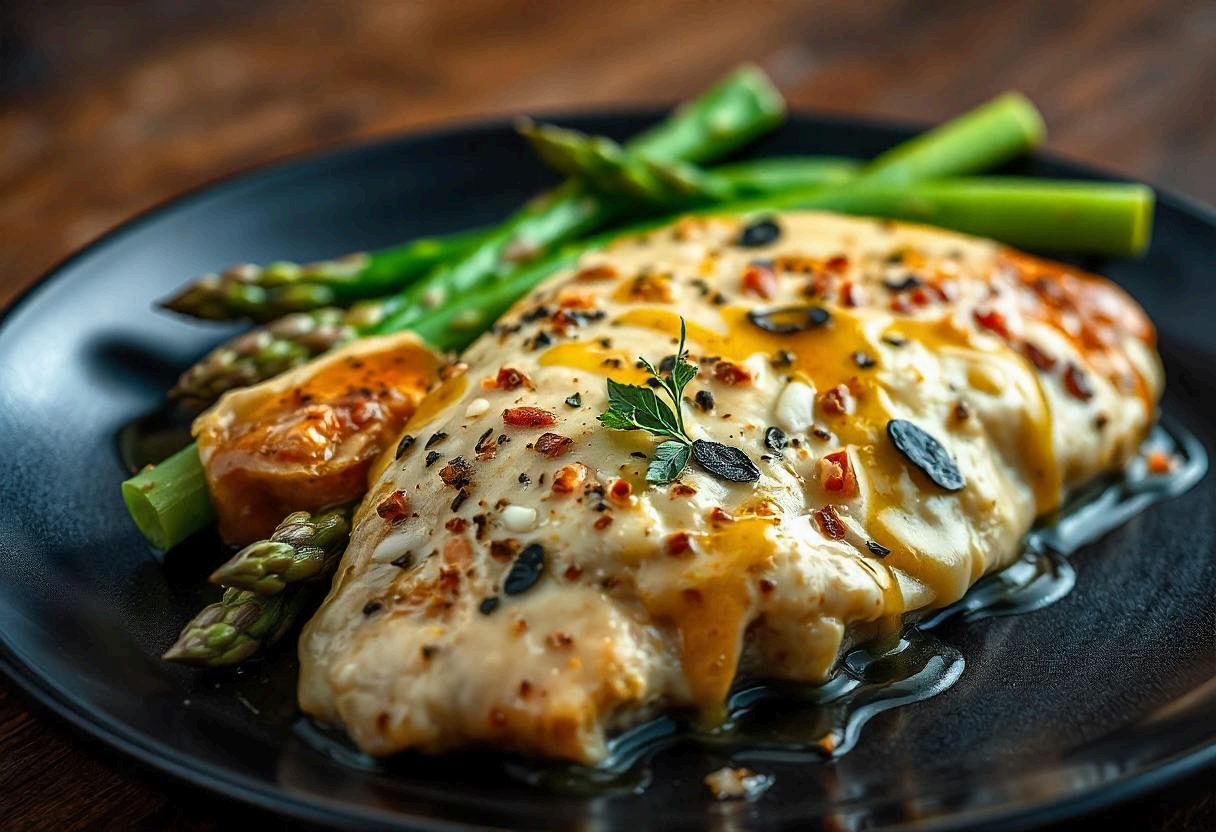
remains a global favorite. Serve them on their own, pair them with low-carb sides like
cauliflower rice or roasted veggies, and finish with a drizzle of creamy (Paleo-approved)
sauce if you want an extra layer of richness. Your reward is a hearty, nutritious feast that
satisfies everyone—keto dieters, Paleo enthusiasts, and general food lovers alike. Enjoy
every juicy, tangy bite, and prepare to add these versatile kebabs to your regular meal
rotation!