Honey Garlic Chicken with Roasted Vegetables
(5-Day Meal Prep)
Introduction
If you’re tired of meal planning stress and looking for a convenient, flavorful way to prepare
lunches or dinners for the busy week ahead, Honey Garlic Chicken with Roasted
Vegetables is your answer. This dish, designed for five meal prep days, features tender
chicken thighs (or breasts) coated in a sweet and savory honey-garlic sauce paired with a
colorful array of roasted vegetables. It’s a relief for your packed schedule, ensuring you
can enjoy a healthy, home-cooked meal without the daily cooking hassle.
The magic of this recipe lies in its simplicity. A quick marinade infuses the chicken with bold
flavors—honey adds natural sweetness, while garlic and soy sauce bring savory depth.
Meanwhile, the oven does most of the work for the roasted veggies, transforming them into
caramelized, nutrient-dense sides that complement the chicken perfectly. By cooking in bulk
and portioning into containers, you’ll streamline your routine and set yourself up for success
all week.
Let’s dig into the details: you’ll learn why this recipe stands out, how to swap in different
veggies or proteins, and tips for storing and reheating to keep every meal as fresh as the
first.
Why You’ll Love This Recipe
1. Easy Meal Prep: Cook once and enjoy for five days. This recipe is big-batch friendly
and low-maintenance.
2. Flavor-Packed Marinade: Honey, garlic, soy sauce, and simple spices combine to
transform basic chicken into a sweet-and-savory treat.
3. With this recipe, you’re not just saving Time; you’re also nourishing your body. The
lean protein meets a variety of roasted veggies, providing a balanced dose of
vitamins, minerals, and fiber. So, while you’re busy, you can be reassured that your
health is not taking a backseat.
4. This recipe is not just a meal prep solution, it’s a canvas for your culinary
creativity. You can substitute the veggies, try chicken breasts or thighs, or even
tweak the marinade to suit your taste. This versatility empowers you to create a meal
that’s not just convenient, but also exactly what you crave.
5. Minimal Clean-Up: Roast everything on sheet pans, and you’ll only have a handful
of dishes to wash afterward.Ingredients
This recipe is designed for five servings—perfect for a Monday-to-Friday meal plan. Feel
free to adjust ingredient amounts to match your needs.
Main Components
● 2–2.5 pounds of chicken thighs or breasts (boneless, skinless)
● 3 tablespoons olive oil (divided)
● 4–5 cups assorted veggies, chopped (try a mix of broccoli, bell peppers, carrots, and
red onion)
● 1 teaspoon salt (divided or to taste)
● ½ teaspoon black pepper (divided or to taste)
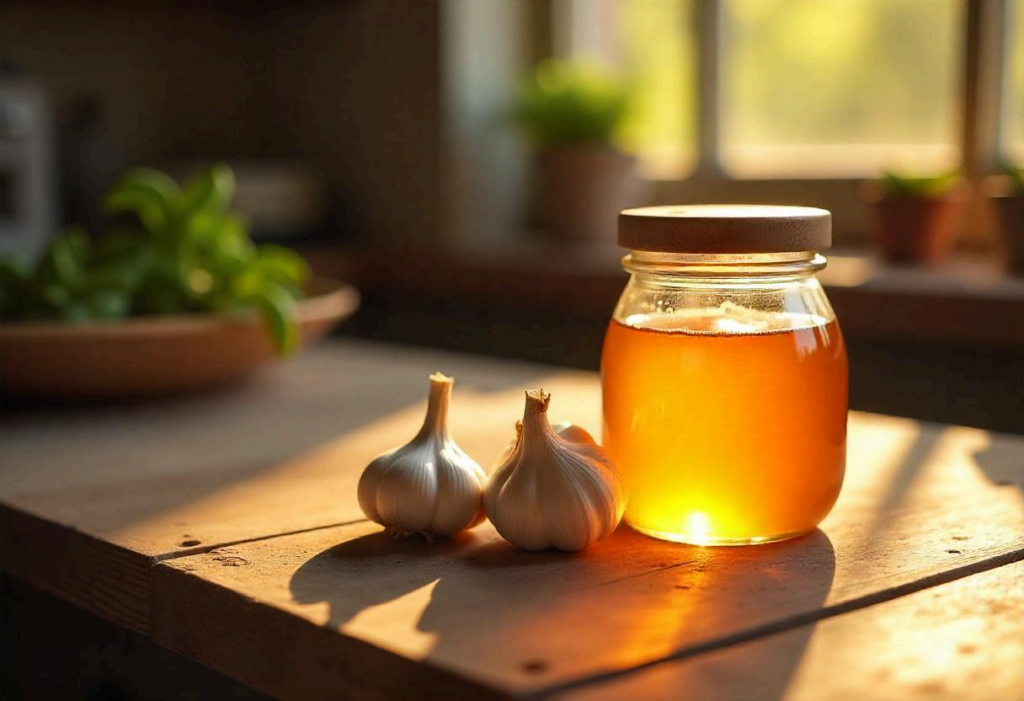
Honey Garlic Marinade
● ¼ cup honey
● 2 tablespoons soy sauce (use low-sodium if preferred)
● 3–4 cloves garlic, minced (or one teaspoon garlic powder in a pinch)
● 1 tablespoon rice vinegar (or apple cider vinegar)
● 1 tablespoon olive oil
● ½ teaspoon ginger powder (optional, but adds depth)
● (Optional) A pinch of chili flakes for gentle heat.
(Conversation Tip: For a gluten-free version, sub soy sauce with tamari or coconut aminos.)
Step-by-Step Instructions
Step 1: Marinate the Chicken
1. Prep the Chicken: Pat the chicken dry with paper towels and place it in a large
resealable bag or a shallow dish.
2. Combine Marinade: In a small bowl, whisk together ¼ cup honey, two
tablespoons soy sauce, 3–4 minced garlic cloves, one tablespoon rice vinegar,
1 tablespoon olive oil, and any optional spices (ginger or chili flakes).
3. Marinate: Pour the marinade over the chicken, seal or cover, and refrigerate. Aim for
at least 30 minutes to let the flavors seep in. If you can swing it, marinate overnight
for an even deeper flavor. Marinating overnight allows the flavors to penetrate the
chicken more deeply, resulting in a richer taste.
(Conversation Tip: If you don’t have time to marinate, just let the chicken sit at room
temperature in the sauce while you prep the veggies. The flavor will be less intense, but it’ll
still be delicious.)
Step 2: Prep & Season the Vegetables1. Chop Veggies: Cut your chosen vegetables into uniform pieces—broccoli into
florets, bell peppers into strips, carrots into coins or sticks, and onions into wedges or
slices.
2. Season: Toss the veggies with two tablespoons of olive oil, half the salt, and half
the black pepper in a large bowl.
3. Arrange on Sheet Pan: Spread the vegetables on a large, rimmed baking sheet
lined with parchment paper or foil for easier clean-up. Ensure they’re in a single layer,
giving them space to roast, not steam.
(Conversation Tip: Denser vegetables like carrots might need a bit more time in the oven,
so consider chopping them smaller or starting them first if you pair them with faster-cooking
veggies like bell peppers.)
Step 3: Sear the Chicken (Optional)
1. Optional Searing: Heat one tablespoon of olive oil over medium-high heat for a
more caramelized crust on the chicken. Remove the chicken from its marinade
(reserving the liquid) and sear each side for 1–2 minutes.
2. Transfer to Baking Dish: Place the chicken in a separate baking dish or on another
half of the sheet pan if space allows.
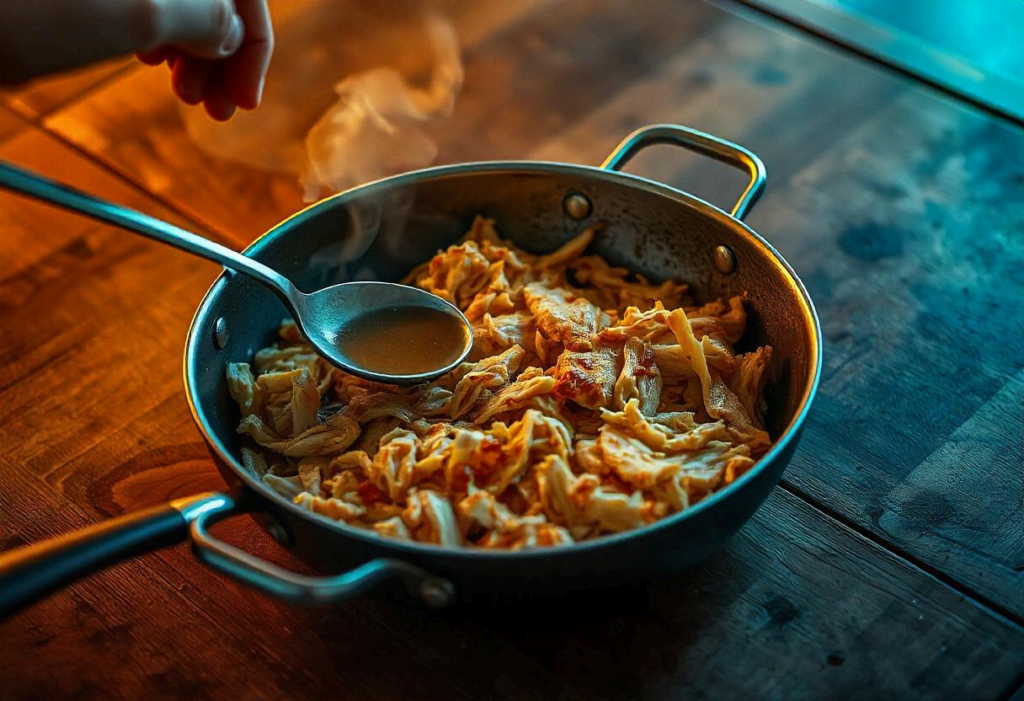
3. Marinade Reduction: Simmer the leftover marinade in a small saucepan for 3–4
minutes to thicken it (ensuring any raw chicken bacteria are cooked). This step
ensures food safety and creates a delicious glaze that you can brush or spoon over
the chicken before roasting, adding an extra layer of flavor.
(Conversation Tip: This step isn’t mandatory but helps lock in flavor and gives the chicken
a slight crispiness. If you’re short on time, skip the searing and go straight to roasting.)
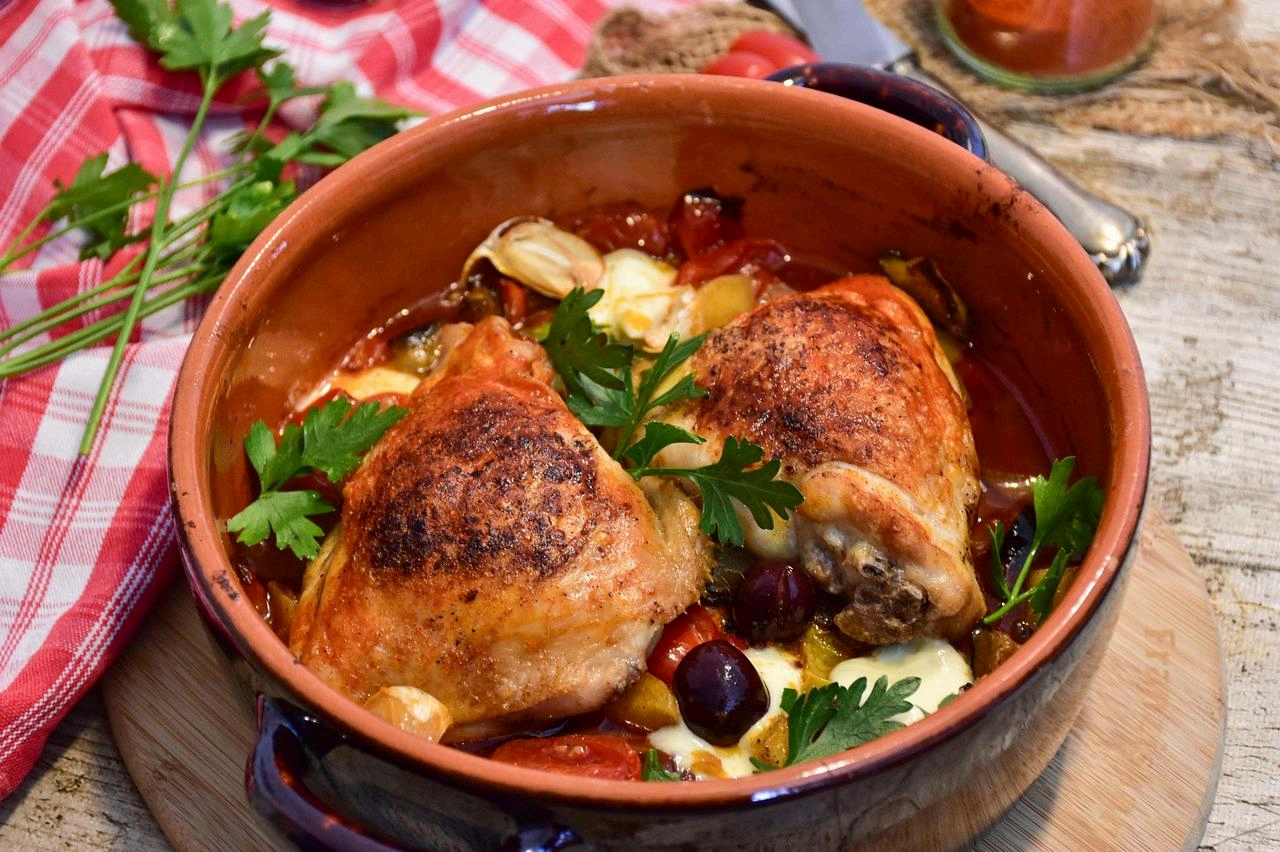
Step 4: Roast the Chicken & Vegetables
1. Preheat Oven: Set your oven to 400°F (200°C) if you haven’t already.
2. Roast Veggies: Place the sheet pan with veggies in the oven and roast for 10
minutes before adding the chicken (or sear the chicken during this time).
3. Add Chicken: Place the chicken on the sheet pan (or a separate baking dish)
alongside the veggies. If using two pans, try to keep them on the same rack for even
heating.
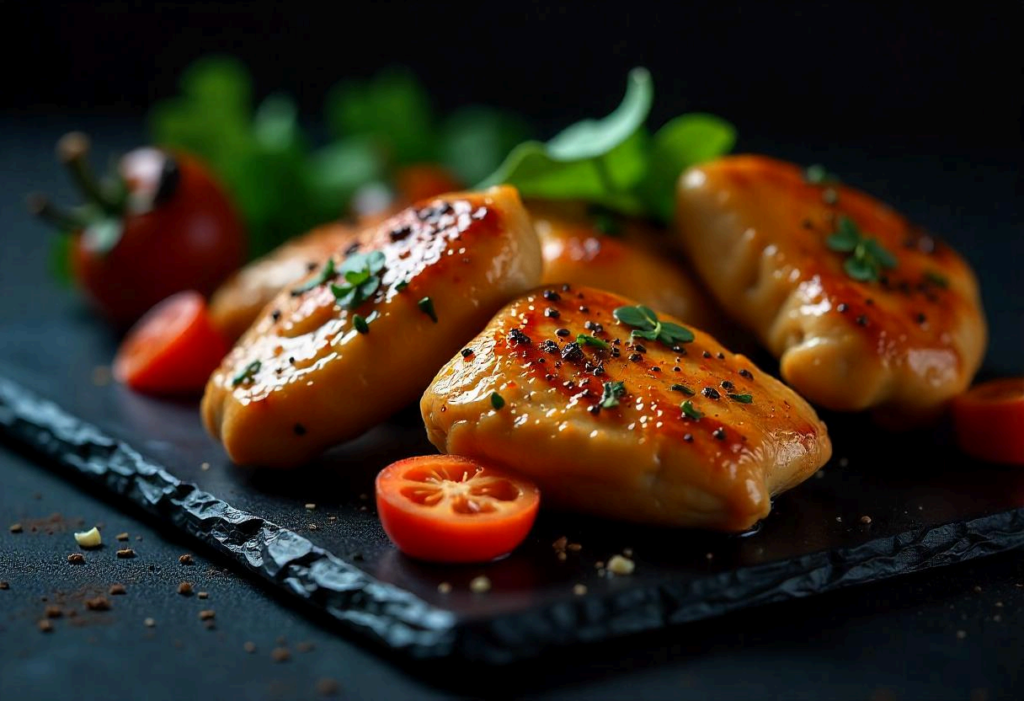
4. Roast Together: Continue cooking for 15–20 minutes or until the chicken is fully
cooked. The internal temperature should reach 165°F (74°C). Vegetables should be
caramelized and tender on the edges.
5. Broil Option: If you want extra color, switch your oven to broil for the last 1–2
minutes. Observe to avoid burning.
(Conversation Tip: Using a meat thermometer ensures juicy chicken every time—no more
guesswork or cutting into the meat to check doneness.)
Step 5: Portion & Store for 5 Days
1. Cool Slightly: Let everything rest for about 5 minutes to seal in juices.2. Divide into Containers: Grab five meal-prep containers. Place a portion of chicken
in each, then evenly distribute the roasted veggies.
3. Seal & Label: Cover each container and label it with the date. Store in the
refrigerator for up to 4–5 days. If you need longer storage, consider freezing your
portions.
(Conversation Tip: If you like to include starch, serve this dish with rice, quinoa, or sweet
potatoes. Just prep your carb of choice, divide it among the containers, and top with the
honey garlic chicken and veggies.)
Serving Suggestions
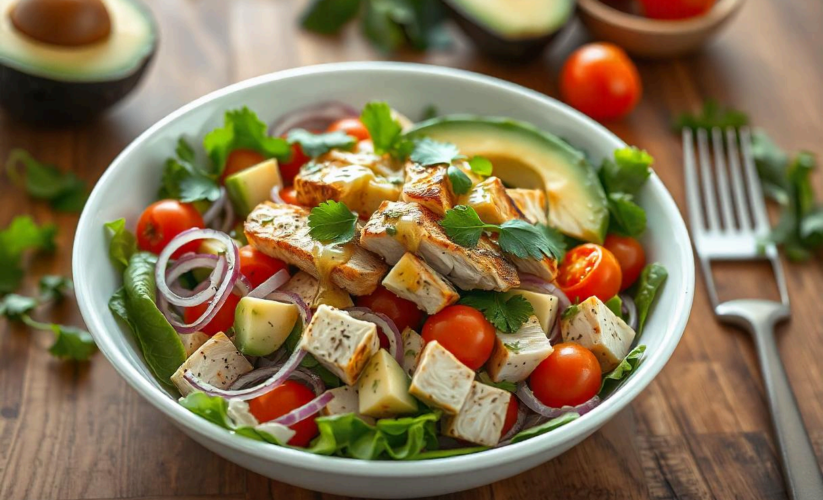
● On a Bed of Rice: Pair your honey garlic chicken and veggies with jasmine or brown
rice. The sauce seeps into the grains for extra flavor.
● Over Greens: Make a hearty salad by layering chopped lettuce or spinach at the
bottom, then top with diced chicken and veggies. Drizzle with a little balsamic
vinaigrette or extra honey-garlic sauce.
● In a Wrap: Slice the chicken into a whole-grain tortilla or lettuce wrap with the
roasted vegetables and perhaps some avocado slices.
● With Noodles: Toss your chicken and veggies with cooked soba or ramen noodles
for a quick bowl. A splash of extra soy sauce or sesame oil can tie it together.
(Conversation Tip: To keep meals interesting, you could vary the sides each day—rice on
Monday, a wrap on Tuesday, a salad on Wednesday, and so on.)
Meal Prep & Storage
1. Fridge Life: Properly stored, these meals last up to 5 days in the refrigerator.
2. Freezing: If you don’t plan to eat all five servings, freeze any extras in airtight
containers for up to 3 months. Thaw overnight in the fridge before reheating.
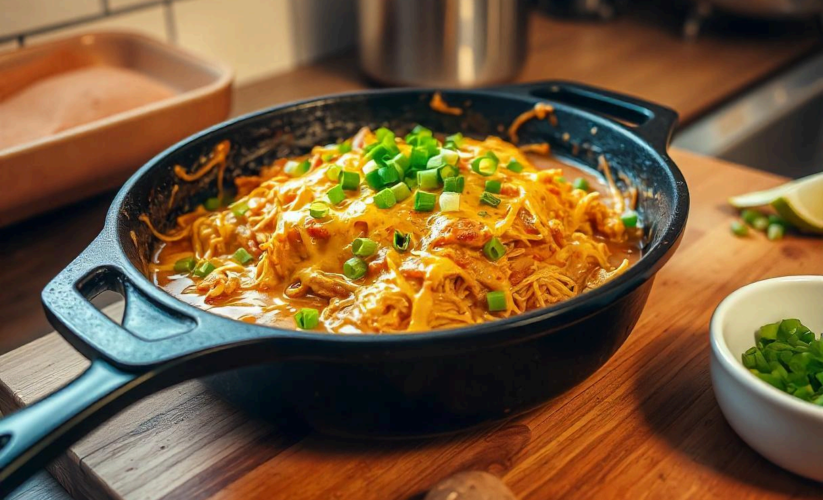
3. Reheating:
○ Microwave: Heat for 2–3 minutes, stirring halfway, until hot.
○ Stovetop: Slice chicken into smaller pieces and warm in a skillet with a
splash of water or chicken broth.
○ Oven: Cover in a baking dish, and heat at 350°F (175°C) for about 10–15
minutes or until warmed through.
(Conversation Tip: Reheating the chicken with a tablespoon of water or chicken stock helps
prevent it from drying out.)
Variations & Substitutions1. Protein Choices: If you prefer leaner meat, swap chicken thighs for chicken breasts.
You can also try turkey tenderloins or shrimp (reduce cooking time appropriately).
2. Sauce Tweaks: Add sriracha or chili-garlic paste if you like more spice. Add extra
rice vinegar or a splash of lime juice for a tangier flavor.
3. Vegetable Alternatives: You can experiment with zucchini, cauliflower, mushrooms,
or butternut squash. Just keep in mind that cooking times may vary.
4. Lower Carb: Skip the honey or use a sugar-free alternative (like erythritol-based
syrup) and replace starchy vegetables (like carrots) with zucchini or green beans.
5. Gluten-Free: Use tamari or coconut aminos instead of soy sauce, and double-check
that your other ingredients (like spoonfuls of vinegar and any additional sauces) are
gluten-free.
Common Questions
Q: Can I use bone-in chicken pieces for this recipe?
A: Absolutely, but you’ll need to adjust the cooking time. Bone-in chicken takes longer to
cook—aim for 35–40 minutes at 400°F (200°C) or until a thermometer reads 165°F (74°C).
Q: How can I keep the chicken moist if I reheat it multiple times?
A: Marinating initially helps lock in moisture. When reheating, cover the container or dish,
and add a water or chicken stock splash. This creates steam, which helps prevent dryness.
Q: Is this recipe suitable for a low-sugar diet?
A: The honey does add sugar, but you can reduce or omit it for a lower-sugar version. Some
people replace honey with a sugar-free sweetener like monk fruit or stevia, adjusting to
taste.
Q: How can I ensure the veggies and chicken are finished cooking simultaneously?
A: Cut denser veggies into smaller pieces and roast them for a few minutes before adding
the chicken. Also, watch the oven to avoid overcooking more delicate veggies.
Q: Can I double the recipe for a large family?
A: Use two sheet pans or roast in batches so everything has enough space. The cooking
temperature remains the same, but you may need to rotate pans halfway through for even
browning.
Conclusion
Honey Garlic Chicken with Roasted Vegetables is a meal-prep superstar—offering a
balance of sweet and savory flavors, wholesome nutrition, and the convenience of cooking in
bulk. Marinating the chicken in a flavorful blend of honey, soy sauce, and garlic makes each
bite a delightful burst of contrasting tastes. Meanwhile, roasting a colorful assortment of
vegetables ensures you get essential vitamins, minerals, and fiber in every portion.With just some planning, you can box up 5 days’ worth of meals ready to grab on busy
mornings or evenings. Whether you keep it simple by serving it as is, adding your favorite
whole grain, or getting creative with salads and wraps, this recipe will effortlessly fit into your
weekly routine.
Give it a try—you’ll appreciate the ease of minimal clean-up, the joy of pre-made lunches,
and the delicious payoff each time you open that container. Here’s to healthier, tastier
weekdays, all thanks to a straightforward meal prep session!