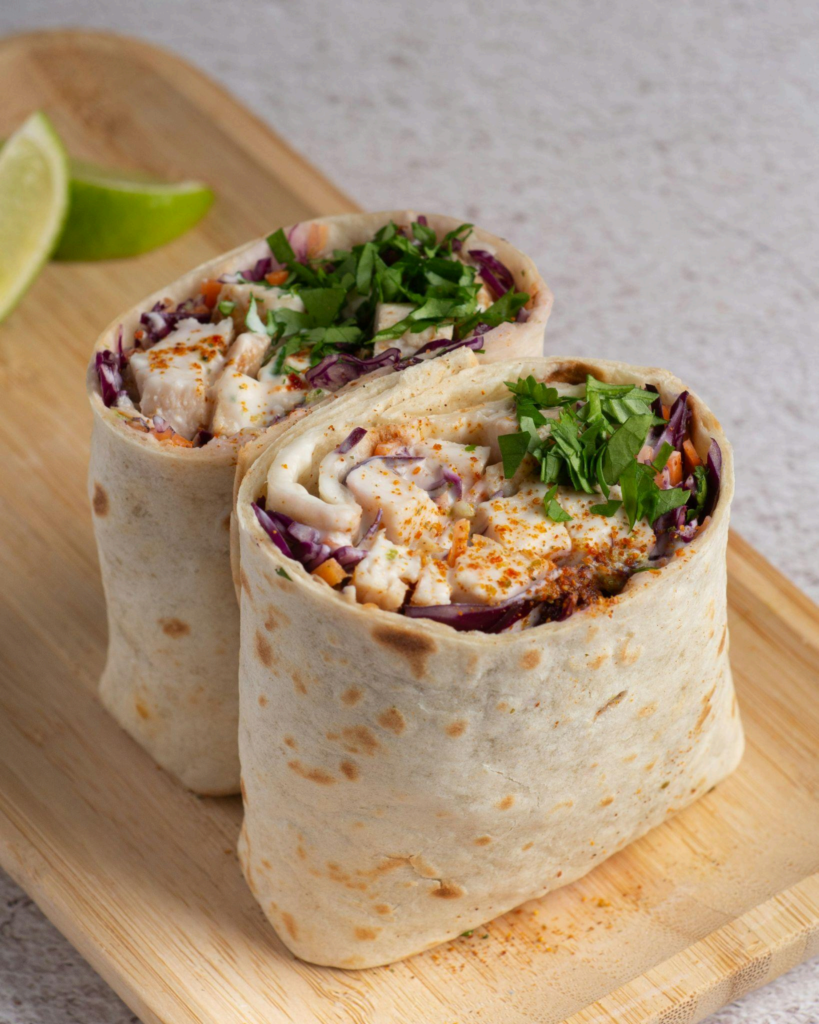
Honey Mustard Chicken Wraps

(Grab and Go Goodness)
Introduction
Need a quick, satisfying meal that you can enjoy on the fly? Look no further than these
Honey Mustard Chicken Wraps. This recipe balances sweet, tangy, and savory flavors,
perfect for busy weekdays, school lunches, or a light dinner. Picture tender chicken
tossed in a homemade honey mustard sauce, layered with crisp veggies, and all bundled up
in a soft tortilla. The result? A portable, flavor-packed wrap you can take anywhere.
In about 20 minutes, you can whip up a batch of these wraps that taste far better than
anything store-bought. Plus, they’re easy to customize: choose your preferred chicken
(grilled, roasted, or leftover rotisserie), vary the veggies, or even switch up the sauce.
Whether you’re a fan of bold flavors or prefer something milder, you can make these wraps
your own. Let’s dive in and create a nourishing and convenient meal.
Why You’ll Love This Recipe
1. On-the-Go Friendly: Wrapped in a tortilla, these chicken wraps are perfect for busy
lifestyles—no plates or forks required.
2. Simple & Fast: They only take about 20 minutes to prepare, making them ideal for
quick lunches or last-minute dinners.
3. Customizable: From the type of chicken to your choice of veggies, there’s room for
creativity.
4. Nutritious and satisfying, this dish features Lean protein, crisp produce, and a
balanced sauce, which keeps you feeling full without the heaviness of typical
fast-food fare.
5. Kid-Approved: The sweet tang of honey mustard often appeals to picky eaters,

making this recipe a win for the whole family.
Ingredients
Below is a breakdown of the components for about four wraps. Adjust as necessary if
you’re feeding more (or fewer) people.
For the Chicken & Sauce
● 1 pound cooked chicken, shredded or cubed○ Grilled, baked, or rotisserie chicken all work well.
● ¼ cup honey
● ¼ cup Dijon mustard (or yellow mustard for a milder flavor)
● 2 tablespoons mayonnaise (optional but adds creaminess)
● 1 tablespoon lemon juice (for a bit of tang)
● 1 teaspoon garlic powder (optional but enhances flavor)
● Salt and pepper, to taste
For the Wraps
● 4 large flour tortillas (8–10 inches in diameter)
● 2 cups mixed greens (romaine lettuce, spinach, or your favorite greens)
● 1 cup chopped veggies (e.g., tomatoes, cucumbers, bell peppers, or red onions)
● Shredded cheese (optional; cheddar, Monterey Jack, or mozzarella)
Additional Optional Toppings
● Sliced avocado or guacamole
● Crispy bacon bits
● Pickles or pickled onions
● Hot sauce or sriracha for an extra kick
Note: If you’re pressed for time, use pre-cooked chicken or leftover shredded chicken to
make the assembly process even faster.
Step-by-Step Instructions
Step 1: Prep the Chicken
1. Shred or Cube the Chicken: If your chicken isn’t already in bite-sized pieces, cut or
shred it now.
2. Season Lightly (If Needed): Add a pinch of salt and pepper if your chicken is
under-seasoned.
Pro Tip: Rotisserie chicken is an excellent shortcut. It’s already flavored, and you can easily
shred it for wraps.
Step 2: Make the Honey Mustard Sauce
1. Combine Honey & Mustard: Whisk together ¼ cup honey and ¼ cup Dijon
mustard in a small bowl.
2. Add Creaminess: Stir in 2 tablespoons of mayonnaise for a richer texture (skip if
you prefer a lighter sauce).3. Balance Flavors: Mix one tablespoon of lemon juice and one teaspoon of garlic
powder (optional) to enhance the sweet and tangy notes.
4. Taste & Adjust: Season with salt and pepper. If it’s too sweet, add a bit more
mustard. If it’s too tangy, drizzle in extra honey.
Pro Tip: Add a pinch of cayenne pepper or a few drops of hot sauce for a spicier twist.
Step 3: Toss the Chicken in the Sauce
1. Mix: In a larger bowl, add the shredded or cubed chicken. Drizzle most honey
mustard sauce over it, reserving a couple of tablespoons for later.
2. Coat Evenly: Spoon or tongs to toss the chicken until each piece is coated.
3. Optional Warm-Up: Heat a skillet over low to medium heat if you prefer warm
chicken wraps. Quickly warm the sauced chicken for a couple of minutes.
Pro Tip: Save a little sauce for drizzling on top of the wraps before rolling. This extra layer
boosts flavor and moisture.
Step 4: Assemble the Wraps
1. Lay Out Tortillas: Place the flour tortillas on a clean surface. If desired, lightly warm
them in a microwave or skillet to make them more pliable.
2. Layer Greens & Veggies: Start with a handful of mixed greens, followed by chopped
veggies. Keep everything in the center or slightly off-center to make rolling easier.
3. Add the Chicken: Spoon the honey mustard chicken over the veggies.
4. Sprinkle Cheese (Optional): Add shredded cheese if you like a cheesy element.
5. Finish with a Drizzle: Use the reserved sauce to fill the filling.
Pro Tip: Don’t overfill—this can make rolling difficult and might cause the wrap to split.
Step 5: Wrap It Up
1. Fold Over the Sides: Fold in two opposite edges of the tortilla (left and right sides)
to partially enclose the filling.
2. Roll Tightly: Starting from the bottom edge closest to you, roll the tortilla upward,
tucking as you go.
3. Slice & Serve: Cut the wrap in half for easier handling, or leave it whole if you plan
to eat on the go.
Pro Tip: If you’re packing these for lunch, wrap each in foil or parchment paper to keep them
together and make them easy to handle.Serving Suggestions
● Dip It: Serve extra honey mustard sauce on the side for dipping.
● Pair with Sides: These wraps are perfectly complemented by a cup of soup, crispy
fries, or a simple side salad.
● Upgrade to a Hot Wrap: Lightly toast the assembled wrap on a panini press or
skillet for a crisp outer layer and melty cheese interior.
Meal Prep & Storage
1. Make Ahead: You can prep the chicken and sauce a day in advance. Store them
separately in the fridge for quick assembly later.
2. Refrigeration: If fully assembled, keep the wraps in an airtight container or wrap
them individually in plastic or foil. They’ll stay fresh for up to 2 days.
3. Reheating: If you enjoy them warm, remove any cold ingredients like lettuce or
tomatoes before gently reheating the chicken portion in a skillet or microwave.
4. Freezing: While you can freeze components separately (like cooked chicken), fully
assembled wraps with fresh produce don’t freeze well. The veggies can become
watery upon thawing.
Pro Tip: For the best texture, store your greens and chicken separately if you don’t plan to
eat right away. Assemble just before you’re ready to dig in.
Variations & Substitutions
● Protein Swaps: If you’re looking to change up the protein source, try turkey, ham, or
even tofu.
● Sauce Alternatives: Do you love ranch dressing? Would you prefer Chipotle mayo?
Feel free to substitute or mix and match.
● Lettuce Cups: Replace tortillas with large lettuce leaves for a lower-carb version.
● Vegan Option: Use a dairy-free mustard and honey alternative (like agave nectar),
tofu, or tempeh instead of chicken, and skip the cheese.
● Flavor Boost: Add a sprinkle of Cajun seasoning or smoked paprika for a different
dimension of taste.
Common Questions
Q: Can I use store-bought honey mustard instead of making my sauce?
A: Absolutely. While homemade sauce offers more control over sweetness and tang, a
favorite store-bought honey mustard can save time.Q: How do I prevent the wrap from becoming soggy?
A: Pat your veggies dry and avoid overfilling with sauce. Assemble the wrap right before
eating or store components separately.
Q: Can I grill these wraps?
A: Yes. Use a grill pan or panini press to toast the outside lightly, which also helps seal the
wrap and melt any cheese inside.
Q: Do I have to use flour tortillas?
A: Not at all. Whole wheat, spinach, or even gluten-free wraps work just as well. Adjust
cooking time or heat levels if you’re toasting them, as different wraps can brown at various
speeds.
Q: What if I want a stronger mustard flavor?
A: Increase the Dijon mustard in the sauce to taste. For an extra kick, add a teaspoon of
ground mustard.
Conclusion
These Honey Mustard Chicken Wraps are the definition of grab-and-go goodness. With
tender chicken coated in a sweet-and-tangy sauce, crisp veggies, and a soft tortilla, each
bite is a balanced mix of textures and flavors. Whether you’re a student rushing between
classes, a parent seeking a lunchbox-friendly recipe, or simply someone who appreciates a
quick yet tasty meal, this dish delivers convenience and taste.
From customizing the sauce to swapping in different proteins, there’s no shortage of ways to
make it your own. Enjoy them fresh off the skillet, chilled from the fridge, or wrapped tightly
to take on the road—however you decide, these wraps will become a weekday staple. Whip
up a batch today and experience how satisfying a portable, flavor-packed meal can be.